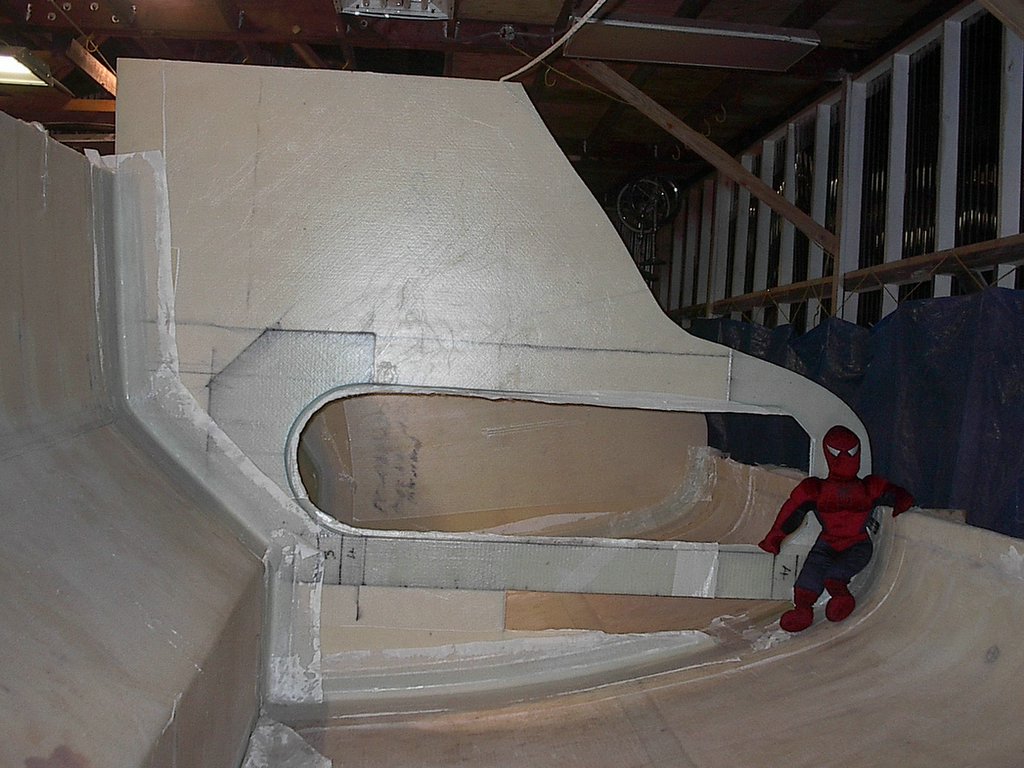
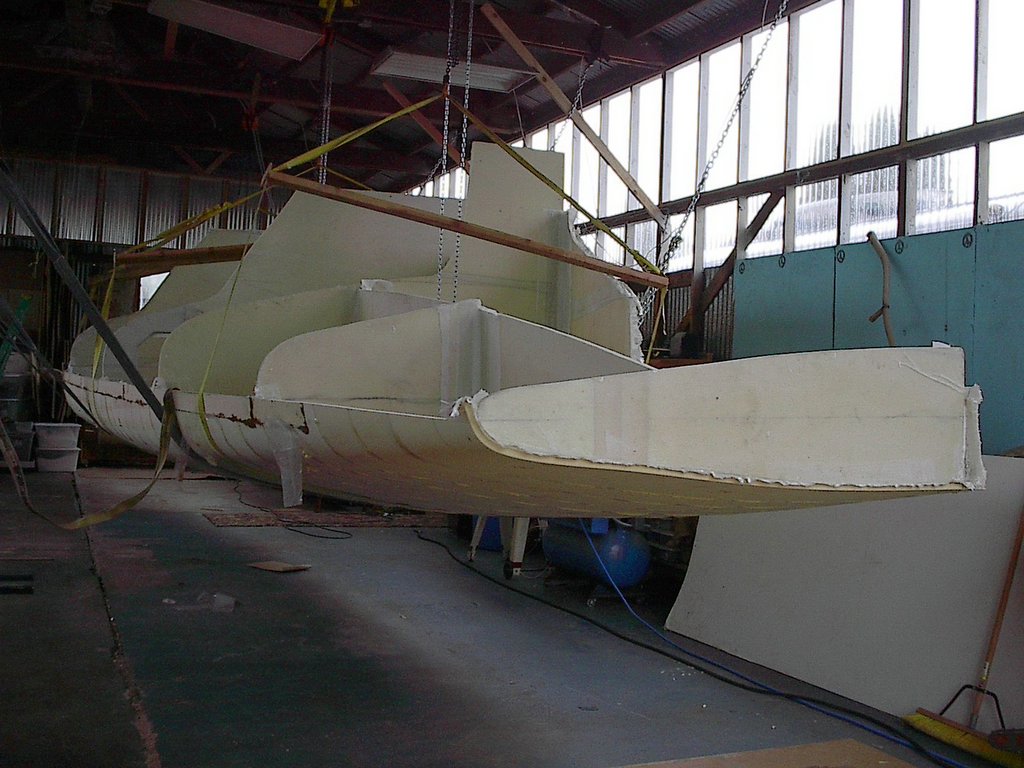
 My friend Cory and I climbed into the rafters to position various lifting devices to allow the port side hull to be moved off the mold and onto the other side of the shop......Next, I'll roll this thing over and spend a few days smoothing and shaping it like a 44 ft. long surfboard in preparation for glassing the outside with 32 oz./ ft.^2 Triaxial glass and epoxy.
10.24.2006
floating in mid air

10.20.2006
imagination
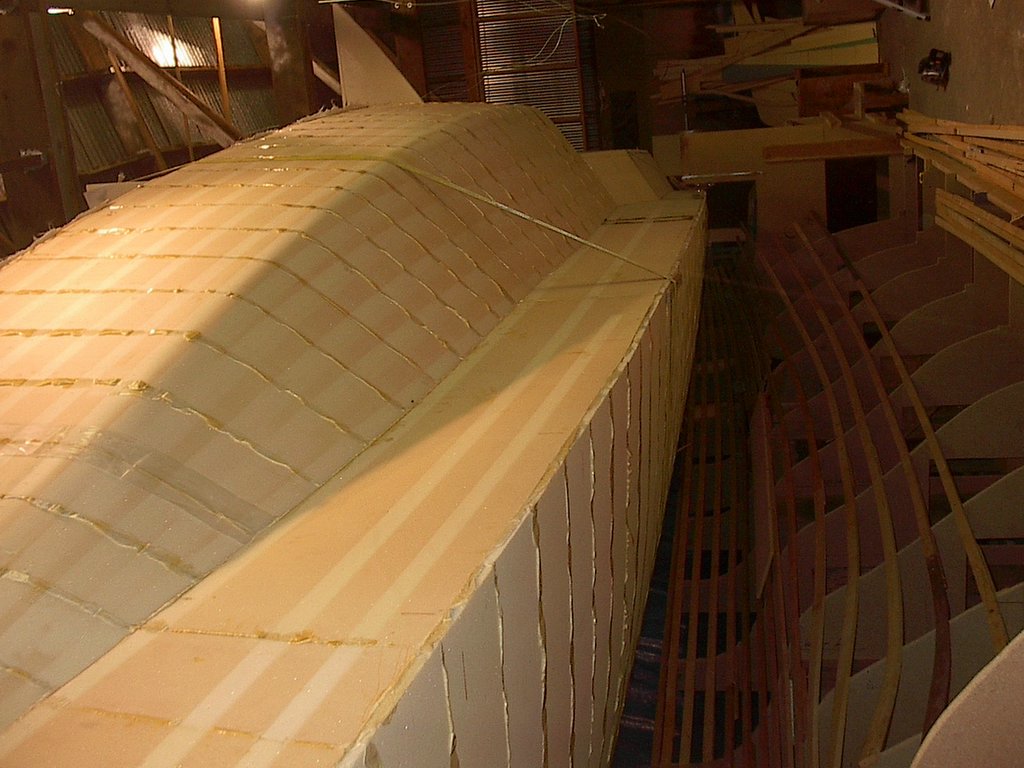 It's possible to imagine that she's floating..........however, at this stage, she's floating sideways over land suspended by three nylon straps from the roof of the shop about 200 vertical feet above and 100 miles east of the pacific ocean.
lifting the port side hull
 A few days have passed without pictures but this step required that I spend a little time cleaning up, clearing out and wipeing epoxy off all my tools.
10.08.2006
2000 screws
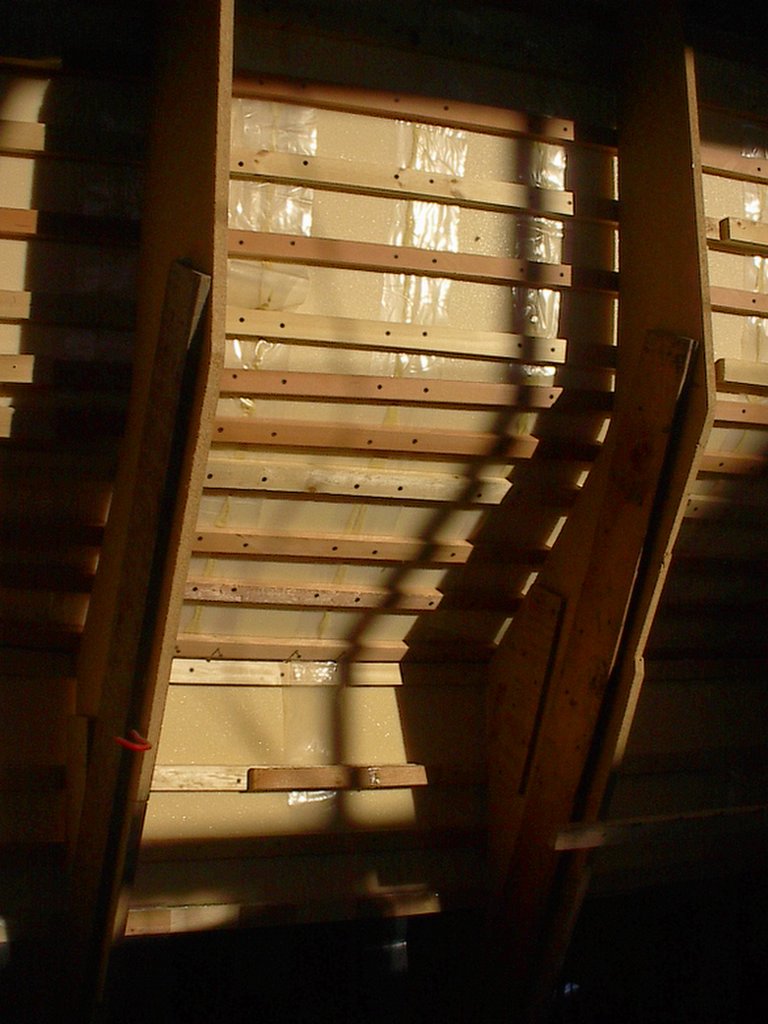 With all the bulkheads in place, the next step is to remove all the screws that I put in place to hold the foam snug against the mold stringers.
Notice the strips of plastic sheeting under each glue joint of the vertical planks. This should prevent any excess glue from preventing the hull from releasing from the mold.
Once all the screws are out, I'll slip a few straps under the hull and lift her off.
9.30.2006

Alex and Tyler
two strange dudes in fantastic hats rode their bikes into the shop and climbed aboard as crew. 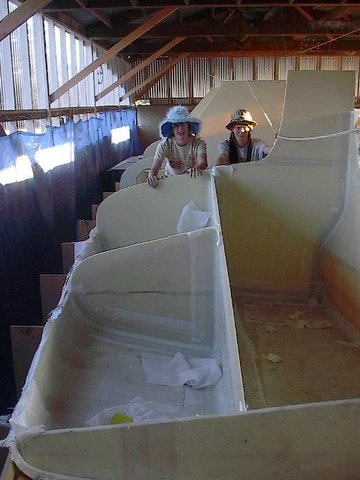
bow bulkhead
port side bow bulkhead.....blopped in place over additional 6in hull girth strip.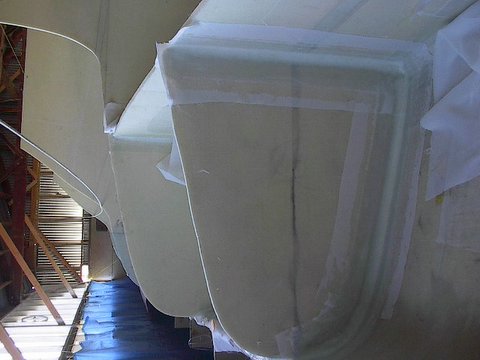 The photo is oriented so that the bottom of the picture is the bottom of the portside hull.
9.29.2006
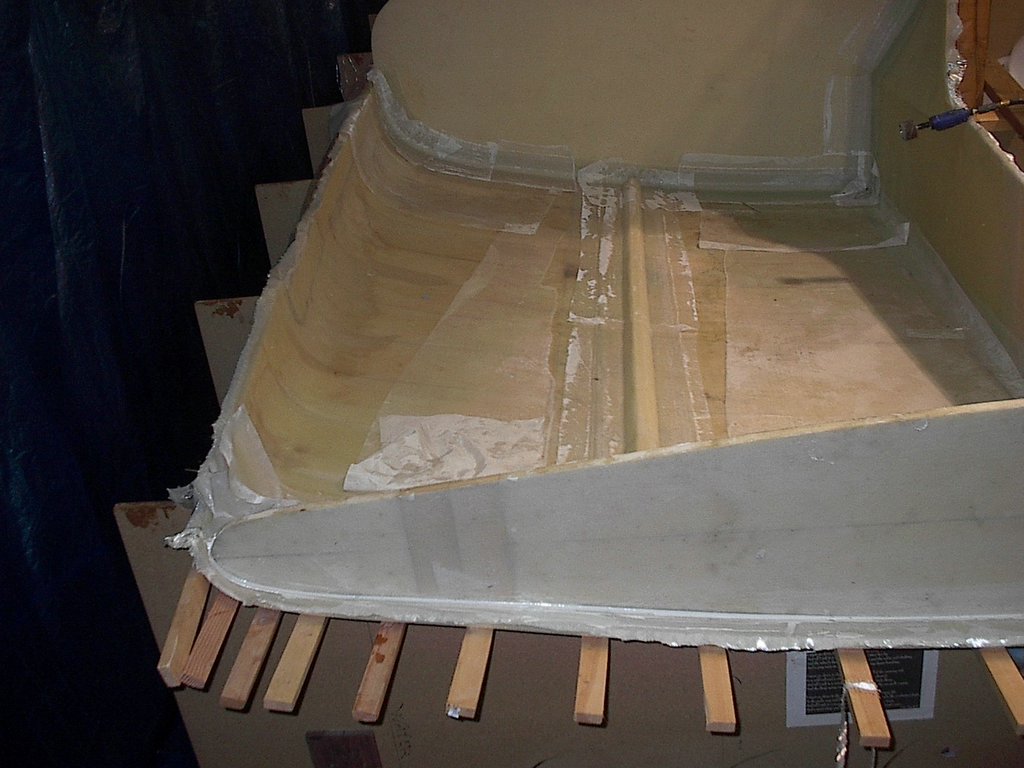
Port side bow floor
 The port side bow floor is centered and tapped in place using a good amount of epoxy/aerosil mix. "dig that snappy new floor board."
9.28.2006
9.27.2006
electric scissors???????
 It may seem sort of silly but these electric scissors (http://www.esmfg.com/electric_cordless_cutter.htm ) are nice for cutting all types of glass, carbon, kevlar, peel-ply and just about anything else. Only problem is that they bring on post traumatic stress syndrome resulting from that time when the electric hair trimmers put an end to that cool hair style I had going as a kid.
port side aft bulkhead in place
 Here's a shot taken from the rafters of the shop. I'm hanging on by one hand from a roof truss and trying to take this picture with my other.
The aft bulkhead is double taped in place on both sides over the 9 layers of Unidirectional and triaxial glass I installed yesterday. Again, I'm in the habbit of laying peel ply over all my joints because it makes such a nice smooth finish.
9.26.2006
keeping epoxy away
It has taken me a while to come up with a good method of keeping myself epoxy free. First I put on a full Tyvex jump suit, apply a barrier cream on my hands then playtex gloves, a latex glove over that so that if I have to cut peel ply or handle my scissors, I can just peel off the latex use a tool without getting it all sticky then put on another latex if I need to continue glassing......seems to work OK. 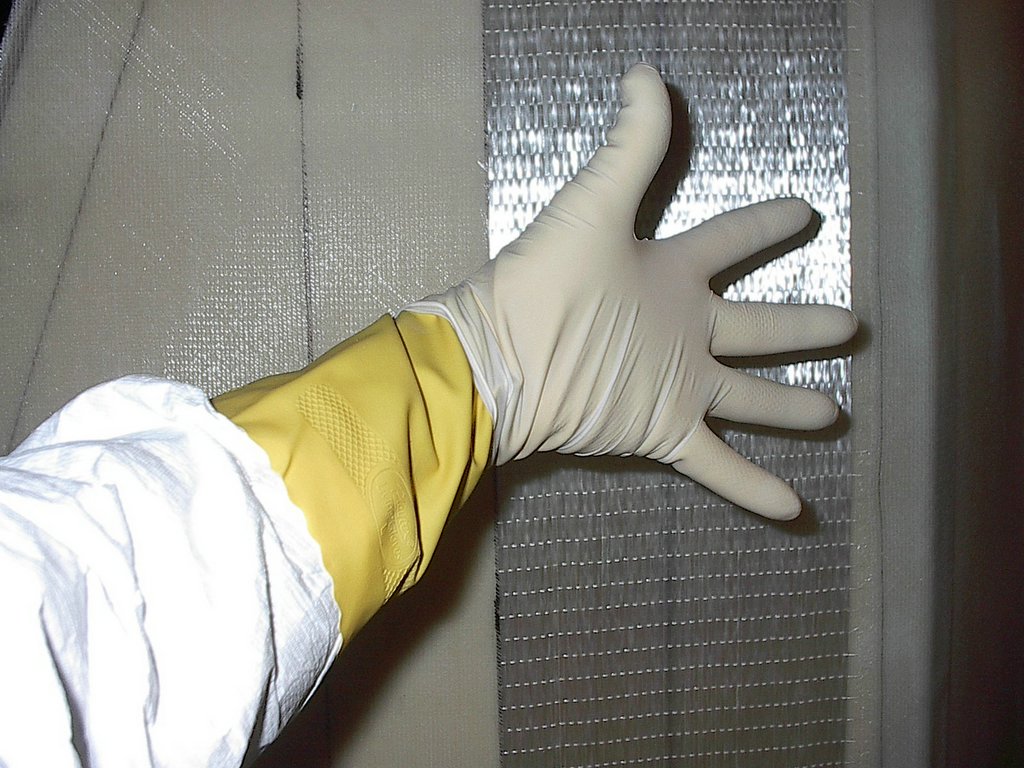
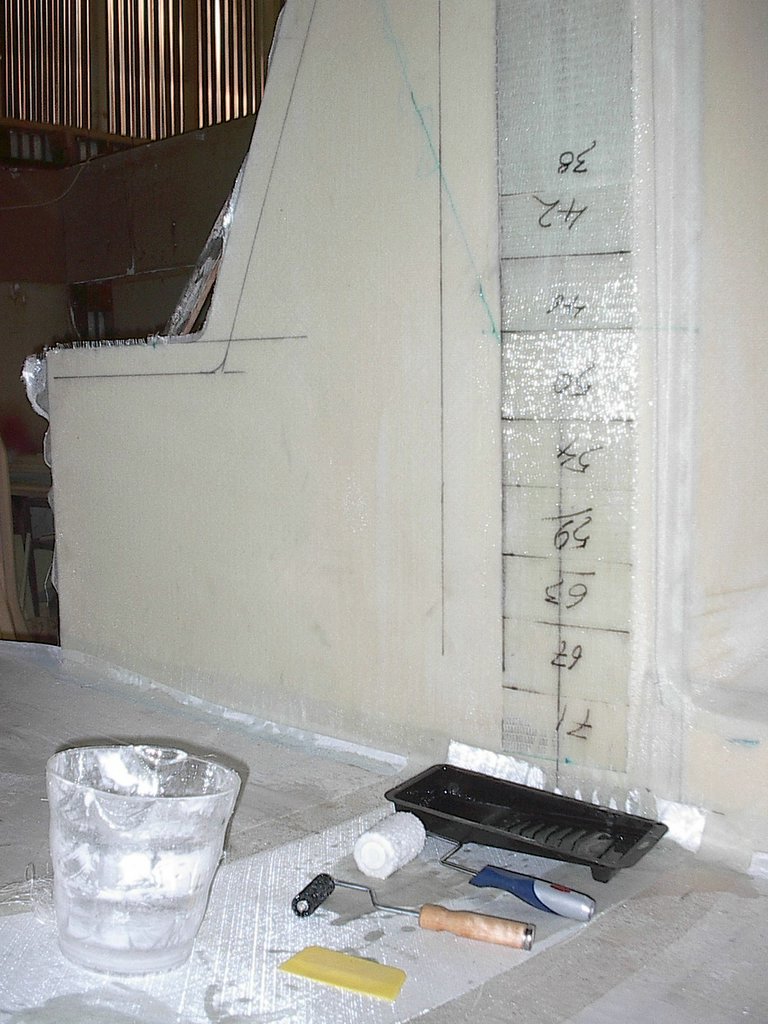
aft bulkhead location prep
The aft bulkhead gets mounted on ten tapered layers of Unidirectional glass. I cut them to length then wet them in individually to insure good saturation. Over this goes a 16 in. wide girth strip of 24oz./ft^2 triaxial glass. ( Farrier says that when using epoxy, it's ok to use 9 layers ) Wow....that saves me a few ounces. Maybe I could take an extra bottle of beer on board.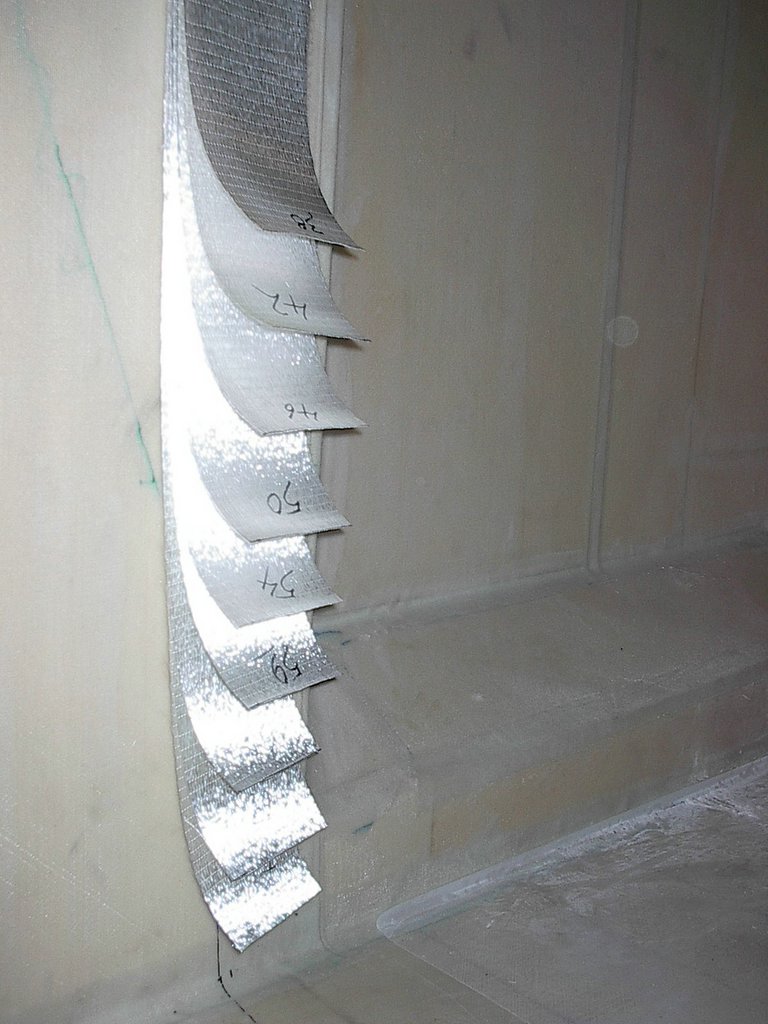
9.25.2006
cabin bulkhead install
Installed the two 32in. uni directional strips, layed the 16 in. wide triaxial girth strip, bedded corecell foam bulkhead strips along bulkhead join line, gooped the whole mess with epoxy/micro/aero putty and installed the cabin bulkhead then double taped it in place and covered everything in peel ply.......all after work and before midnight...... 
9.24.2006
bulkhead scribe tool
Here's a simple scribe tool that I use to mark the final fit demension of the bulkheads. I place the bulkhead where it's supposed to go; then I run this scribe and mark the bulkhead on both sides by keeping the block up against the inside of the hull. The small block of 3/4 in foam is the same thickness of the foam bulkhead mounting strips so once the bulkhead is cut along this line, the bulkhead will fit perfectly against the mounting strips.
sugar bugs
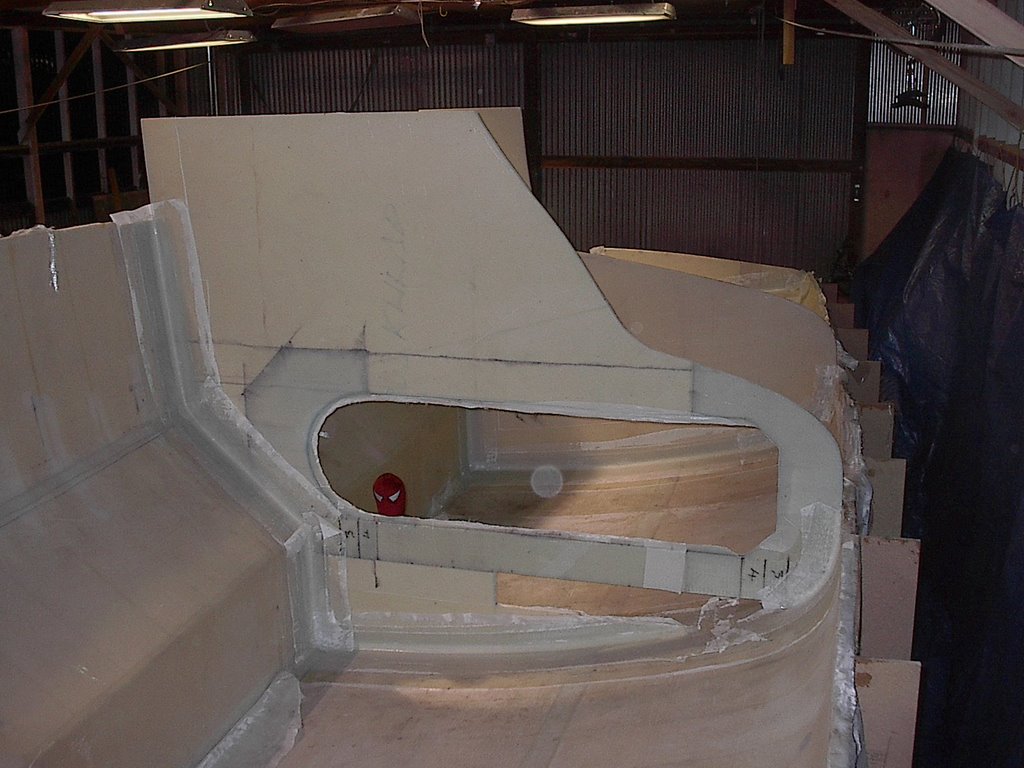
When you see lots of sugar bugs in the air it's best to use a dust mask. I's no fun when your lungs itch........ a white suit, a good hat, a double cartridge dust mask and a really nice Bosch sabre saw can make cutting fiberglass bareable.
I use a carbide grit saber saw blade for trimming the edges of the bulkheads. If you start the cut and hold the blade up against the inside edge of the panel, the blade can be made to follow the edge because the vacuum bag process creates a reinforced edge that helps guide the blade. 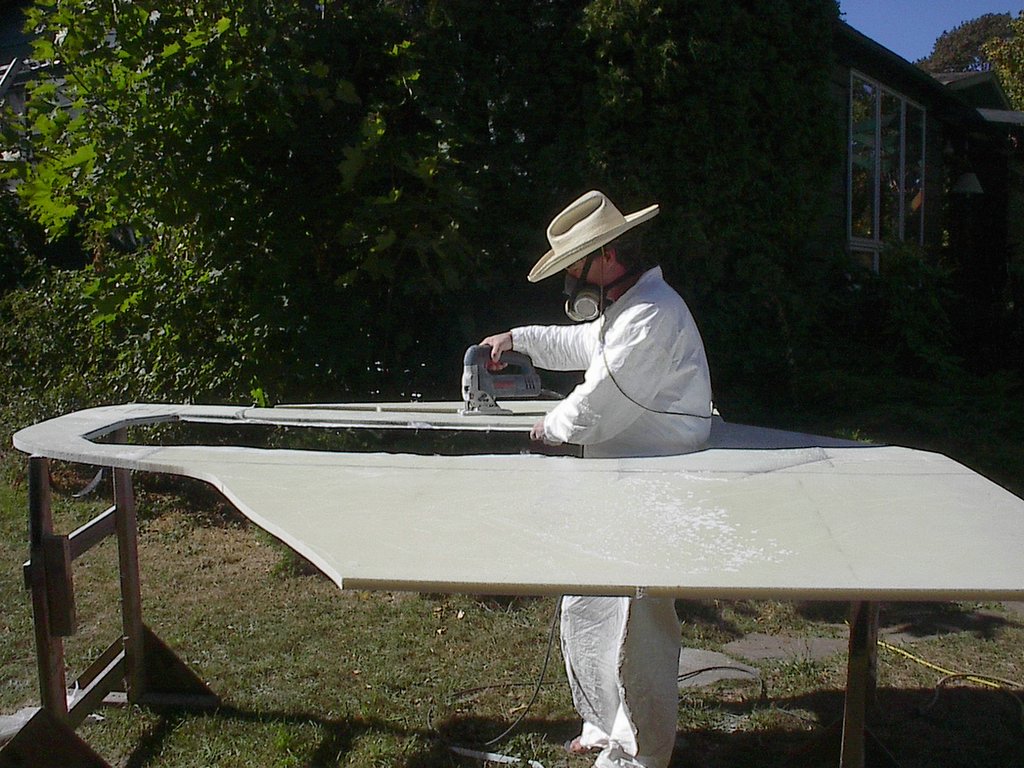
9.23.2006
fitting the forward bulkhead
As suggested in the plans, the bulkheads can be fitted against foam strips rather than just blopping them in with putty ( epoxy / micro / aero ). Farrier says that this is better but takes more time........a farmer was holding his pig up in the air under an apple tree so he could eat. a catamaran builder walked up and said: " that sure is a waste of time". The farmer said: " time dont mean nothin to a pig"...............I think there may be a time when I'm off the coast of Africa in a storm and wishing I had glassed the bulkheads in the best I could have. So thinking that, I don't really have a choice.
Next, I'll show a picture of the finished double glass tape and epoxy bulkhead join detail. 
9.21.2006
ten layers of Uni
Ten layers of 13 oz. uni dry stacked to the inside hull where the mast bulkhead will be installed. Over this, a 16 in. band of 24 oz glass will aid in distributing the forces placed upon this highly stressed bulkhead location. 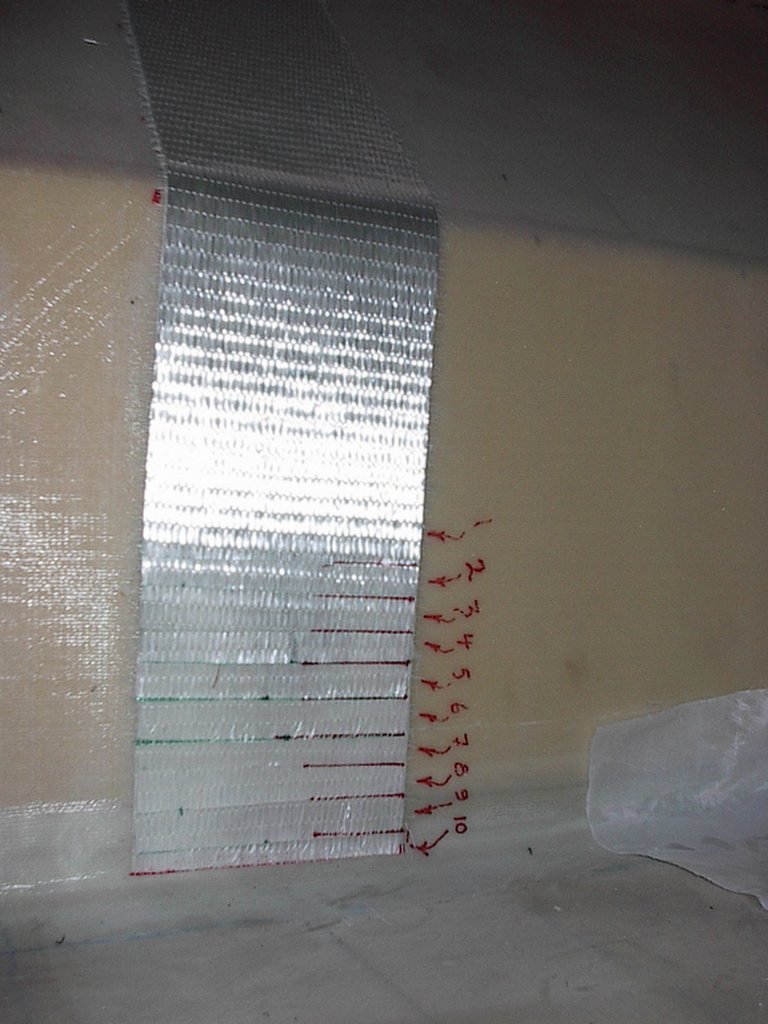
uni directional reinforcement under bulkheads
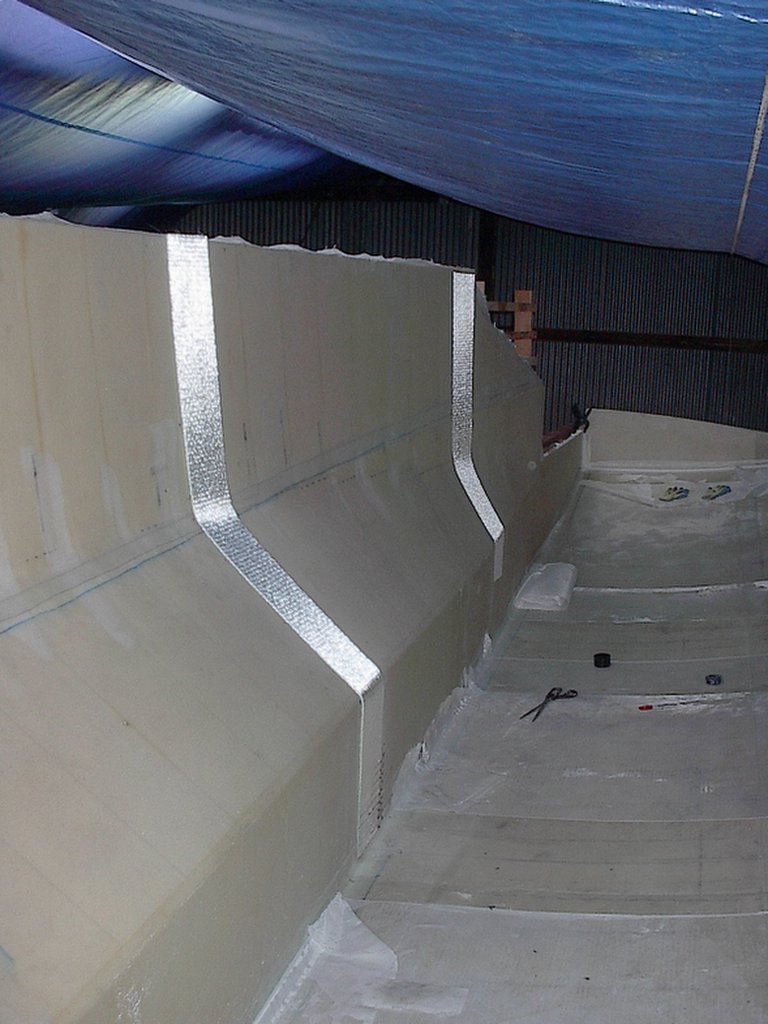 Where the bulkheads attach to the hull /cabin, there are layers of 8in. Uni glass and a 16 in wide strip of "D"- 24oz. Triaxial. This photo shows the uni dry stacked to the inside of the hull with 3M-77. I attempted to set for an infusion of the ten layers of uni but was unable to pull vacuum against the pre-glassed inside surface. I suppose I'll humble myself by wetting this out in the conventional manner.
9.19.2006
Stem Bulkhead
Port side stem bulkhead in place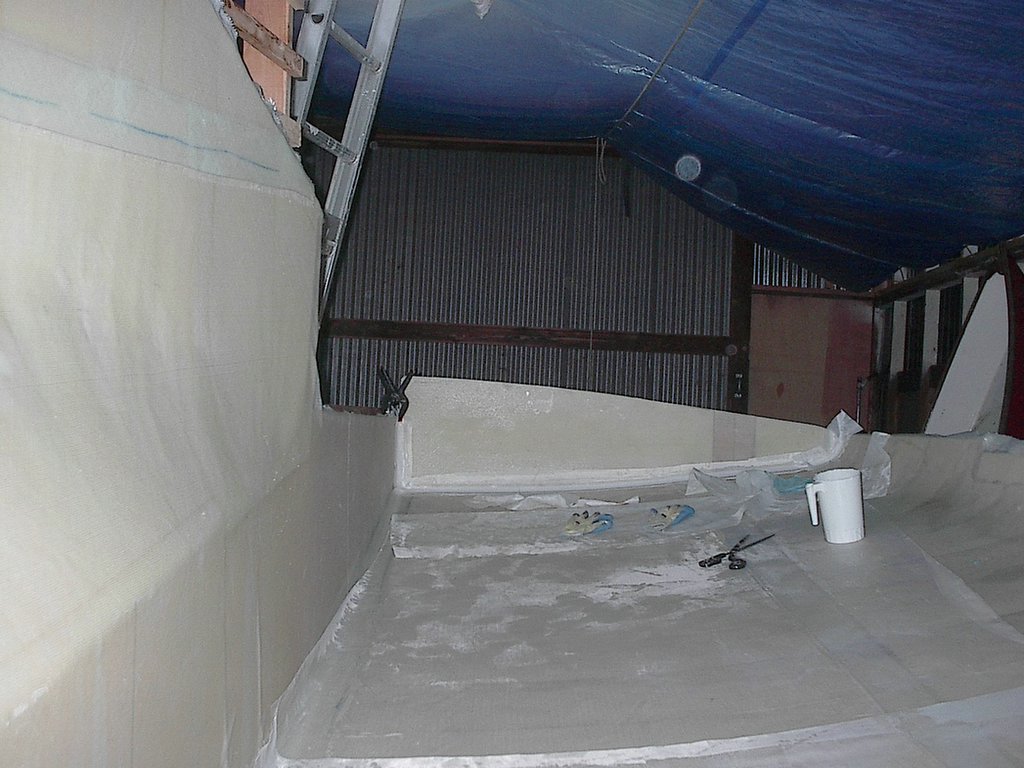 . I forgot to run by Fiberglass Supply after work to pick up a roll of DBM1708 Tape so I just blopped the stem bulkhead into a batch of microbaloon/aerosil epoxy peanut butter and ran a strip of peel ply over the fillet so tomorrow I'll rip up the peel ply and tape it in proper. Next, I'll start installing all the other bulkheads.......note darker diab 1200 high density insert for pole wires.
9.16.2006
glassing the inside of the outer port hull

wet out of the first ten ft of the inside of the outer, port bow. ( the boat is on it's side and your looking towards the front of the boat from about mid ship )
I'm using plastic spredders and a box full of rubber gloves to work the resin through the dry glass and onto the foam. Once the 24 oz. Triaxial glass is fully saturated and laying firm against the foam, I come back and cover the entire area with peel ply. I don't enjoy sanding glass so the added expense of covering the entire boat surface with peel ply is worth it to me.
I'm finished for the day so I've used a strip of plastic as a release, foam and some weights to hold the edge of the unsaturated glass so that I don't wake up and find a bunch of wrinkles. Tomorrow I plan on finishing the entire inner hull so that I can start installing the bulkheads.
9.14.2006
vacuum bagging several panels at once
The two previous posts show some of the bulkheads that resulted from this vacuum bag layup. I somehow managed to nest four bulkheads in one bag without too much trouble. OK.....there was a moment of panic when the sun started peeking through the shop window and shineing directly on the lay-up before I had it all sealed up. Although I'm using "medium" system III silvertip hardener, I wasn't sure if the direct sunlight was going to kick my resin too soon.....Turns out I had plenty of time.
In the background, you can see the bulkhead pieces for the starboard hull. When laying out the bulkheads, I stacked two sheets of corecell together and produced foam bulkheads for both hulls all at once. 
9.10.2006
peeling peeeeeeeel ply
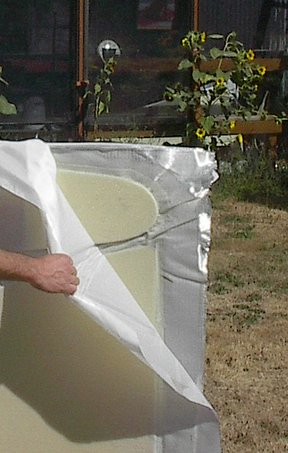 Although it's best to wait until you intend to install the bulkheads before removing the peel ply, sometimes I just can't wait...... I think I enjoy it just about as much as opening christmas presents. Perhaps it's the sound it makes or maybe the sence of accomplishment that it fosters when a perfectly flat, strong and lightweight composite bulkhead is revealed.
4 bulkheads in 1 bag
After releasing a gang of four bulkheads from a vacuum bag, they walked out side to enjoy a solar post cure bath in the sunshine.........
Subscribe to:
Posts (Atom)


 Posts
Posts