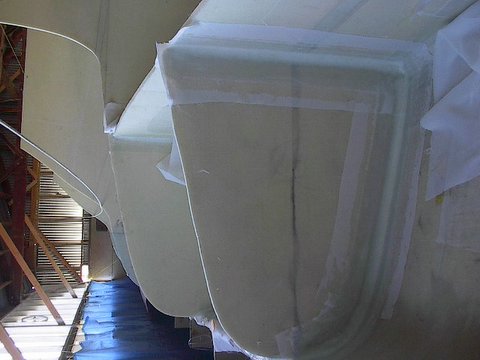
If anyone questions the benefit of peel-ply, here is yet another example .........
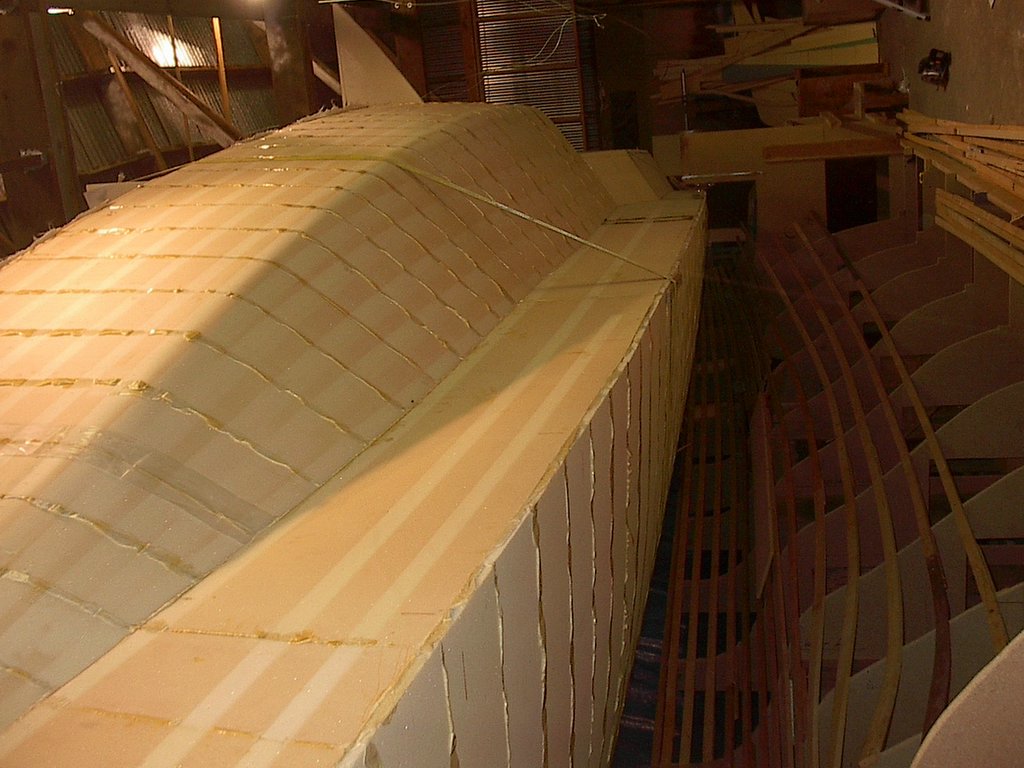
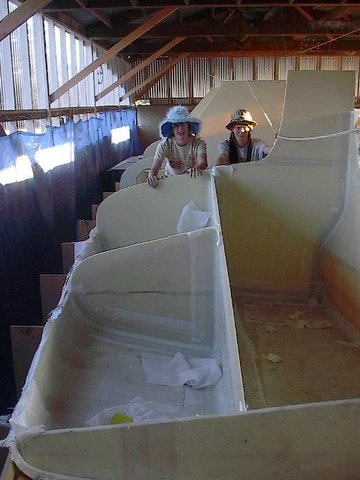
A bird seemes to have found her way into my shop and apparently she does not share the pride in my workmanship that I do. To the left of her deposits you can see the vertical strip of peel ply that I have removed in preparation of laminating the 16in. wide reinforcement bands. These extra glass layers provide reinforcement between the hull form and the bulkheads.
The photo shows the middle section of the inner starboard hull half. ( Upper left hand portion of the photo will eventually find itself below the waterline and will become the inner half of the bow of the right hand hull )
3.21.2007
Pride of wokmanship
3.07.2007
a twenty thousand dollar work table
12.30.2006
High density keel strip
12.27.2006
starboard inner hull foam
here's an "in progress" photo of laying pre-thermoformed and fitted corecell planks onto the forward portion of the inner starboard hull form mold.
I found it quicker and easier to thermoform and fit ten inch wide planks and temporarily tack them in place with 2in. x 2in.x1/4in. squares here and there with one sheet rock screw. Once I had ten or so planks formed and ready to edge glue, I numbered them, with a sharpy pen then switched over to the gluing process.
This seemed to go quicker than forming, fitting and gluing one plank at a time.
12.19.2006
Starboard side inner hull takes shape
Here's a little progress on the starboard side inner hull foam. I fitted pillow cases over a couple of 40 lb. bags of wood pellets and they act as devoted assistants to help hold the pre-heated foam strips in position. (I pay them by the hour).
I'm also using temporary 2in. x 2in. x 1/4in. plywood squares with one sheet rock screw in the middle to hold the foam against the stringers until I screw the foam in from the outside.
When I'm ready to fare the foam, I'll remove them and go at the whole deal with a variety of sanders. After that, I'll lay the 24 oz. triaxial glass.
12.08.2006
Air powered glue gun
Now here's a REAL glue gun. Since System Three discontinued the polyuerethane glue that I was using to edge glue my corecell foam, I switched to a thixotropic epoxy glue called "Gel Magic". It's much harder than foaming polyurethane glues and will no doubt require more effort to fare smooth.
http://www.systemthree.com/p_st_gelmagic.asp
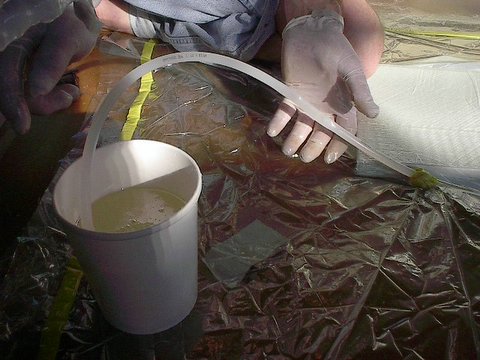
Although this product is also available packaged into caulking tubes, I wasn't pleased with the value given that most of the tube is empty space used for the two to one mixing. The guys at Fiberglass supply loaned me a phnumatic glue gun that allows me to bulk load tubes with the product and despense it through mixing tips onto the edges of my corecell strips. It beats mixing the gue up in cups and spreading it on with a butter knife.
The foaming polyurethane glue is much easier to use but I wasn't convienced that it was stronger than the foam itself so I will have to pay the penalty of difficult sanding to come.
foam saver
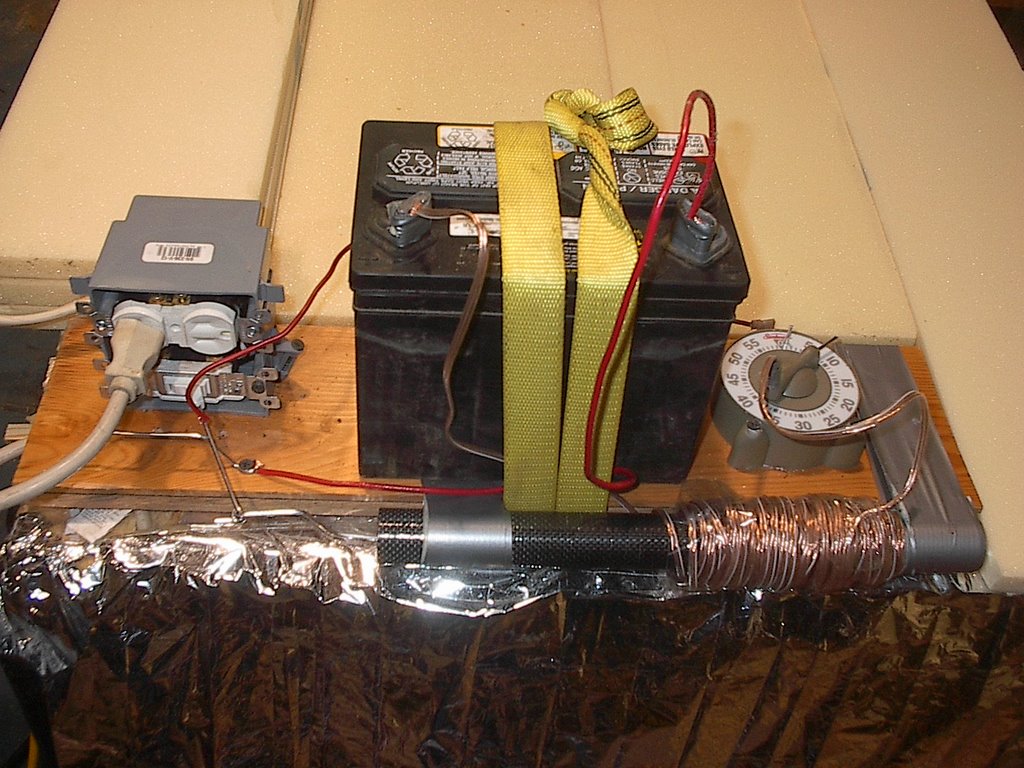
After completely ruining a $40.00 plank of nice 3/4 in core cell foam by leaving it in my oven too long. I decided to make a timer that shuts off my oven automaticly. I'm toasting my foam with ten 250W heat lamp bulbs so I needed a heavy duty switch..... The cooking timer triggers the coil that pulls an internal steel tube that pulls a rod that throws the switch that kills the power to the outlet that my oven is plugged into. The wire rail to the left de-energizes the coil once the main switch is thrown........the cooking timer set me back $1.97 and I scrounged the other stuff and spent twenty minutes building this very crude but functional relay.
12.03.2006
Starboard side inner hull
A small pirate came into the shop eating a microwave burrito and asked me when the boat will be ready to sail.
The corecell foam planks are being tacked into place and edge glued using system three gel Magic thixotropic epoxy adhesive. When Ifinish forming the foam, I'll screw all the foam onto the mold from the back side and then romove all the tabs. After that, I'll fair the inside foam and then lay the 24 oz triaxial glass and epoxy as shown before.
11.03.2006
eazy bake oven
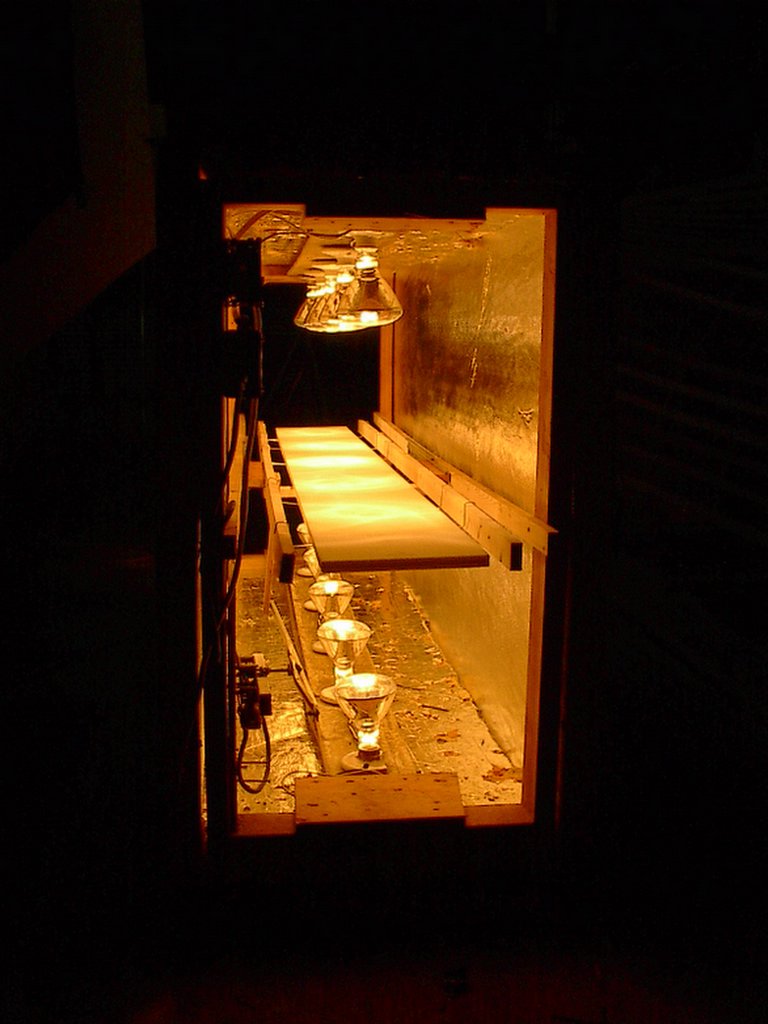
I spent a little time building an easy bake oven for my foam strips.....three sheets of surplus foam, ten lamp bases, some heat lamps and if you look real close; lower left hand corner, you can see a BBQ rotissary that I got for $1.00 at a garage sale. I made a crank arm from a screen door frame and attached it to a rack that I mounted on two drawer slides.
........I drape some clear vinyl over the ends like a warehouse door and this allows me to toast my core-cell stips so that they bend real nice into the mold.
10.26.2006
10.24.2006
floating in mid air
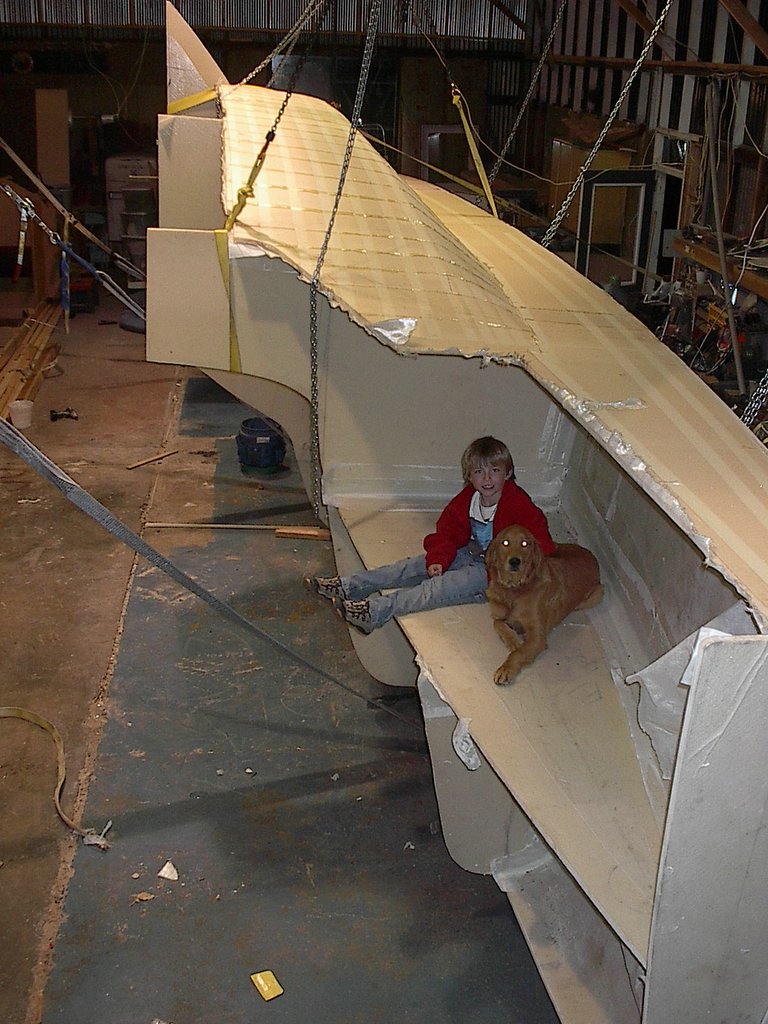
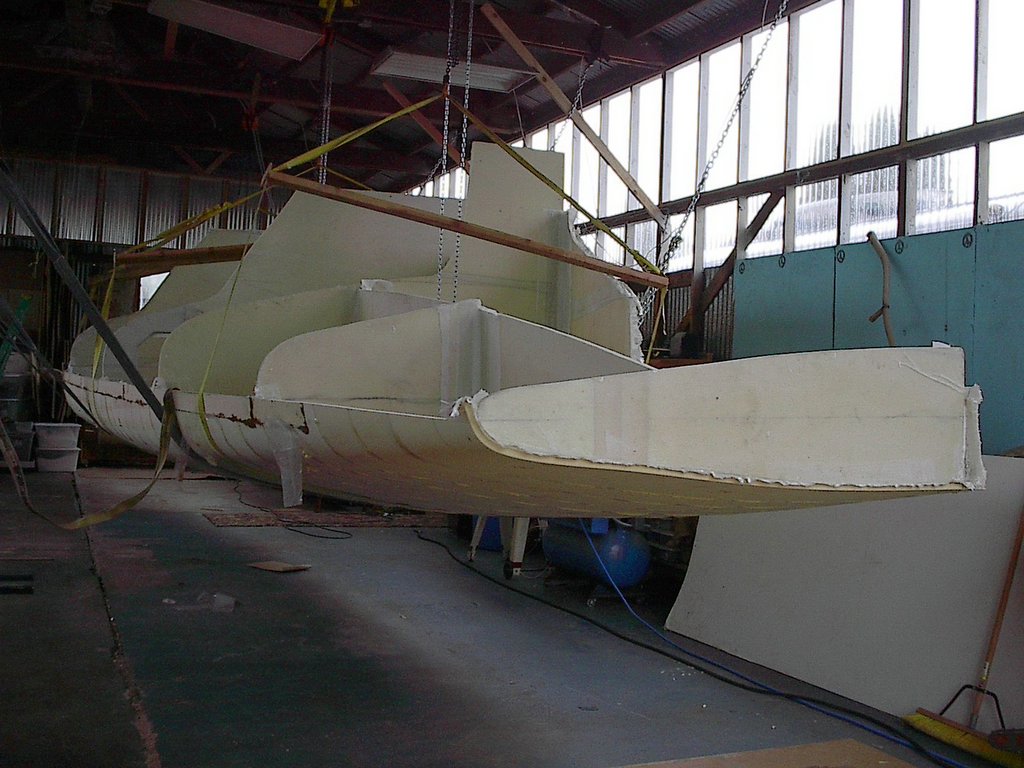
My friend Cory and I climbed into the rafters to position various lifting devices to allow the port side hull to be moved off the mold and onto the other side of the shop......Next, I'll roll this thing over and spend a few days smoothing and shaping it like a 44 ft. long surfboard in preparation for glassing the outside with 32 oz./ ft.^2 Triaxial glass and epoxy.
10.20.2006
imagination
lifting the port side hull
10.08.2006
2000 screws
With all the bulkheads in place, the next step is to remove all the screws that I put in place to hold the foam snug against the mold stringers.
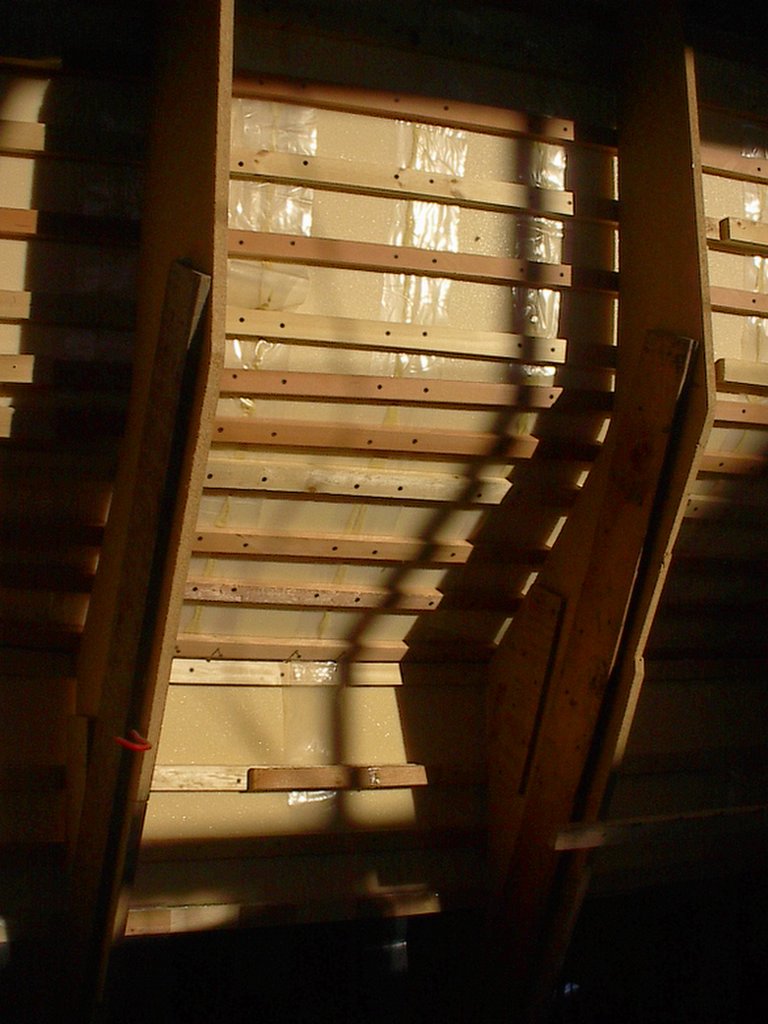
Notice the strips of plastic sheeting under each glue joint of the vertical planks. This should prevent any excess glue from preventing the hull from releasing from the mold.
Once all the screws are out, I'll slip a few straps under the hull and lift her off.