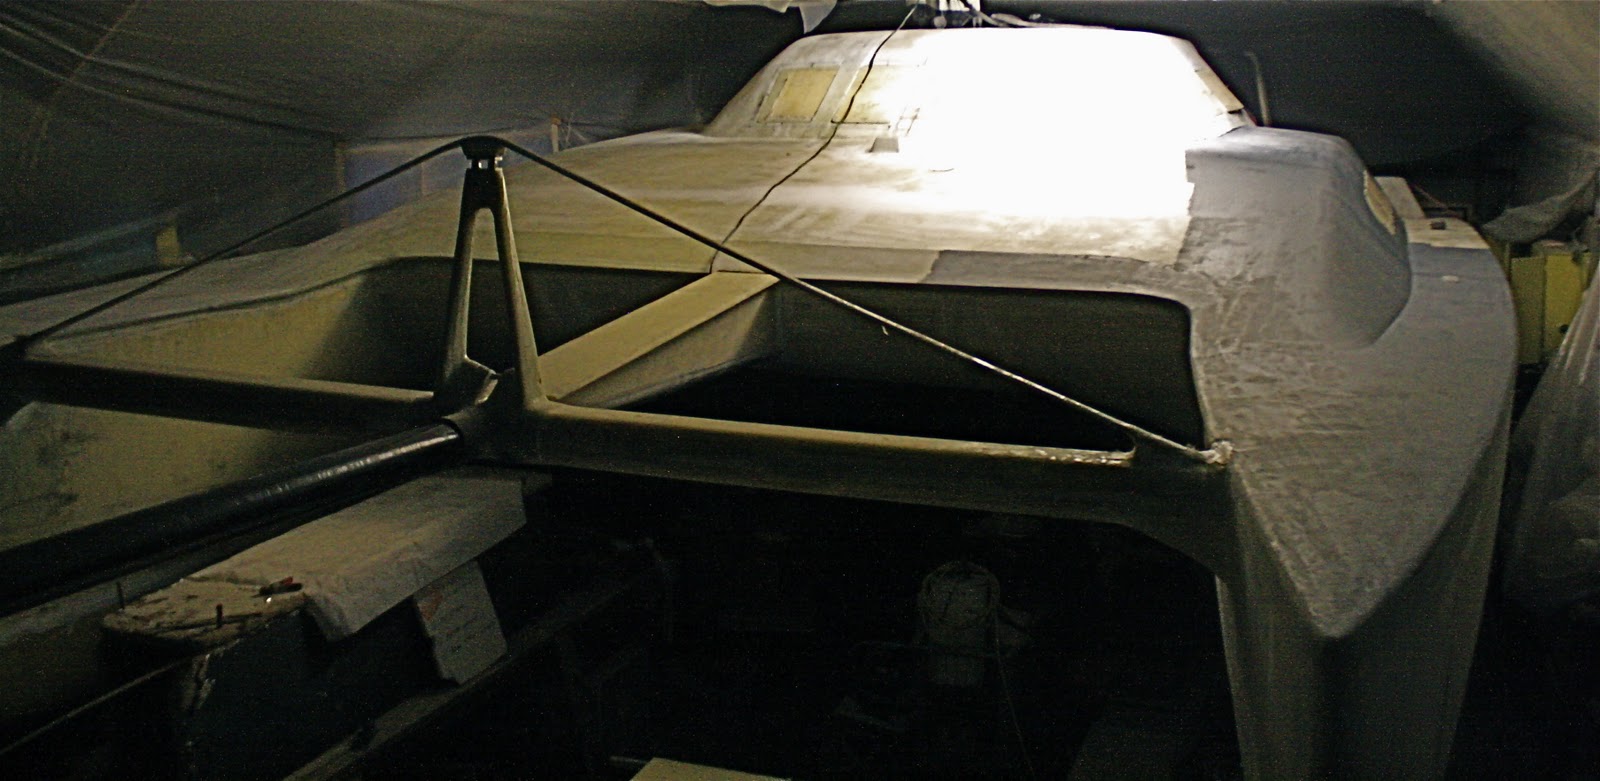
According to the Import Security Filling, the mast for this F-44SC catamaran is on a container ship named the ANL Bindana on her way from New Zealand, and can be tracked here: http://www.marinetraffic.com/ais/shipdetails.aspx?MMSI=636091168
wish here well in her journey to the west coast of the United States...........
11.19.2010
The Mast is aboard a Liberian ship
11.18.2010
Sealing the micro
First coat AWLgrip 545 Epoxy Primer on the port side deck. Rough fairing done with microbaloon/epoxy mix ; final surface fairing with System Three Quick-Fair. Minimum application temp is 55 Deg. F ...chances are not looking good. So I am officially switching over to building out the interior.
Hood River Weather :
Saturday
Nov 20
Cloudy with spotty showers40°Lo 27°
11.17.2010
Hammock testing
With the targa bar in place, I though it prudent to use a hammock to test structural integrity........a bit premature I might add. Not to mention the fact that under sail, if you fell out, you would have to tread water for the rest of your life.
starboard hull stiffener
Aside from providing a resting place for interior floorboards, each hull requires three lower hull stiffeners. I pre cut all reinforcement material with my best pair of titanium scissors and after that job, my forearm would have made Arnold Schwarzenegger's look like a girly man.
6 stiffiners x 6 strips of uni + 12 overwrapps of 3 ply 24oz. Triaxial glass = 72 layers of reinforcement
This photo shows the mid ship, starboard hull stiffener looking towards the stern. The left side of the photo shows the centerboard case while the right shows the interior hull shape as it transitions itself into the underside of the boat.
11.15.2010
Marine Refrigeration system
I decided upon a modular marine refrigeration system which will allow me to build the type of frig freeze unit that I want. This unit weighs in at only 10 lbs and with proper box design, I plan on building a deep freeze to stockpile fish along the way. I'm hoping there will be a few fish left in the ocean come this summer when we launch.
Rather than use the conventional condensing unit, I opted for the "keel cooler". This dumps the heat that is being removed from the fridge / freezer into the water on the outside of the boat rather than inside the cabin interior. ( no need to have a heater in your boat when your in the tropics )
Unfortunately, this condensing unit weights approximately 1,200 lbs. is 4 ft tall and about 10 feet in length.
11.08.2010
Early Christmas......
1. After opening bag
2. Ripping off the breather
3. pulling the thin perforated film
4. the best part: peeling the peel ply
5. showing the uniglass along the leading edge. ( this goes into "tension" when the targa bar is loaded)
6. Overlapped the tri glass along the trailing edge ( this goes into "compression" when loaded so 6 layers provides a little bulk and creates optimum configuration for compressive forces)
7. a little trick......use a stapler to keep the glass in place in the wet layup step
8. placed a couple of 1x2's in the void to help prevent concavity.
I'ts nice when things work out!
11.07.2010
rudder bagel and cream cheese
Had a fun time using my Grandad's old chisels knocking out chunks of cedar to allow the rudder bars to nest into the two cedar core halves. After carefully measuring the desired location of the rudder shaft, I scribed the outline with a sharpy pen and then performed some free hand skill saw action to cut the lines......holding my mouth just right to judge the depth of cut as I went along. After that, I slathered the rudder halves with a mixture of cabosil, microbaloons and epoxy like a big bagel with cream cheese, bagged it, placed it in my curing oven and let the pump run until morning.
Clothing the final Targa bar piece
Trimming the 24oz. Triaxial glass cloth for the Starboard targa bar upright.
In the bag.... (note: Vac pressure can crumple just about any object containing an open cavity and since these targa bar uprights have hollow cores with a stringer running lengthwise, I chose to run a small tube into the bag and into the internal void. This allowed me to introduce a controlled amount of atmospheric pressure during the curring phase to prevent creating concavities in the sides of the members. )
Turned out fine...................
11.05.2010
flying cedar shavings
sure that I didn't have ANY voids. )
photo 2 : after an hour with a power planer. ....fun time shaping a Clark Y airfoil from nice smelling
wood.
Photo 3 : finished shape
Photo 4 : detail showing my emergency tiller option. I decided to just machine a hex head on the end
so that I can make an emergency tiller by just welding a deep well socket onto a tube.
It's a shame that these rudders have to live their lives under the back of the boat. Seeing how nice they look makes me want to varnish them and use them as figureheads. Next step is to lay a little kevlar along the leading edge and sheath the whole thing with triaxial glass and epoxy.
Bonus: I plan on sweeping up the pile of cedar shavings, sewing them into a big pillow case and making a dog bed for Daisy.
11.04.2010
Targa bar corners
To help with shaping, I used a sharpy pen to mark a center line guide curve on the ends of the foam
I stayed up many nights trying to come up with a brilliant way to create the 8 inch radius corners of the targa bar. Although my method allowed me to create a nice transition, it required the cutting, gluing and shaping of over 20 pieces of corecell foam. The end result turned out nice but this was mainly due to persistence not brilliance. Sometimes, simple solutions are difficult to find. The next step will be to laminate the exterior of both targa bar uprights then glass the entire assembly onto the stern of the boat.
11.02.2010
rudder boxes
The "Jeffa" spherical rudder shaft bearings are being bonded into the kick up rudder boxes.
The lower bearings came pre bonded into large diameter fiberglass tubes and require generous fillets with multiple layers of triaxial glass over this; bonding them into position.
The upper rudder shaft bearings will be installed in the sub bulkhead seen on the rudder box on the left. ( it hasn't been glued in place so it's just sitting a little crooked in the box )
The lower bearings came pre bonded into large diameter fiberglass tubes and require generous fillets with multiple layers of triaxial glass over this; bonding them into position.
The upper rudder shaft bearings will be installed in the sub bulkhead seen on the rudder box on the left. ( it hasn't been glued in place so it's just sitting a little crooked in the box )
Test fitting the targa bar.
It was a bit of a balancing act positioning the targa bar pieces in place. Hidden from view on top of the cabin are two car batteries sitting on top of the ends of the two 2 x 4's acting as a counterweights which allowed me to hang the targa cross bar in place.
Part of the reason for performing this trial fit is to determine the shape of the two corners. This will no doubt require some creative foam shaping. Once these two corner core pieces are formed, I'll pull the uprights down, glass them and reinstall them for the final install.
Rudder blanks
I decided to use a lightweight ceder core for the rudders. The challenge becomes working out a method of sandwiching the rudder shaft between the cedar stock so that it can then be shaped, sheathed and vacuum encapsulated with epoxy.
My plan is to create two planks from a total of 20 pieces of 3/4 x 4 in cedar. After this photo was taken, I mixed up a batch of cabocil and epoxy then slathered each edge and face with the mixture then placed the entire laminated block into a vacuum bag to insure that both planks were bonded well.
Next step will be to take a little time with a chisel and mallet cutting out a hollow portion that will allow the rudder shaft to be positioned between the two blanks. Then another session of epoxy goo and vac bagging the cedar blanks over the rudder post to form a block with the rudder shaft in the middle of it. Once done, the fun part becomes shaping of that the streamlined profile with a power planer.......at least that's the plan.
My plan is to create two planks from a total of 20 pieces of 3/4 x 4 in cedar. After this photo was taken, I mixed up a batch of cabocil and epoxy then slathered each edge and face with the mixture then placed the entire laminated block into a vacuum bag to insure that both planks were bonded well.
Next step will be to take a little time with a chisel and mallet cutting out a hollow portion that will allow the rudder shaft to be positioned between the two blanks. Then another session of epoxy goo and vac bagging the cedar blanks over the rudder post to form a block with the rudder shaft in the middle of it. Once done, the fun part becomes shaping of that the streamlined profile with a power planer.......at least that's the plan.
10.30.2010
Play testing
Since I plan on mounting two 250 W solar panels and a 10 ft. dinghy off the targa bar, I vacuum bagged multiple layers of carbon fiber reinforcements over the core.
This resulted in a super lightweight and strong piece that showed very little deflection when loaded.
The photo is somewhat mis-representational in that the curve of this composite structure is molded in and I have not yet reached my full body weight. The keen eye may also take note of the clever use of a middle eastern camel saddle being used as the support for the Targa Bar.
As a final note, It's also safe to say that throughout all of written history, this may be the only time that a sentence containing both targa bar and camel saddle has been produced. If I may go further, this may also be the only time that a carbon fiber targa bar has come into actual contact with a sinew laced leather bound middle eastern camel saddle whose marriage resulted in a fine teeter totter which we enjoyed immensely.
This resulted in a super lightweight and strong piece that showed very little deflection when loaded.
The photo is somewhat mis-representational in that the curve of this composite structure is molded in and I have not yet reached my full body weight. The keen eye may also take note of the clever use of a middle eastern camel saddle being used as the support for the Targa Bar.
As a final note, It's also safe to say that throughout all of written history, this may be the only time that a sentence containing both targa bar and camel saddle has been produced. If I may go further, this may also be the only time that a carbon fiber targa bar has come into actual contact with a sinew laced leather bound middle eastern camel saddle whose marriage resulted in a fine teeter totter which we enjoyed immensely.
10.25.2010
Targa bar post cure oven
One advantage of not being burdened by corporate sponsors such as BMW and Oracle is that I am allowed to construct impromptu post cure ovens made out of things found inside a 20 ft. radius of the shop.........make that "Facility".
After disassembling the post cure oven, I am seen here performing a series of deflection test on the horizontal portion of the targa bar assembly. As specified in Mil Hdbk 5, the test being performed here, involves placement of small vehicles along the upper surface. To arrive at the streamlined cross section of the targa bar, I made thirty c clamps from 3/4 in plywood and pounded them onto the sides of this clamping jig.
10.22.2010
Two 6082 alloy aluminum Rudder shafts
?
Truth be told......they were built according to the fabricated parts book that is part of the licensing of the F-44SC Super Cruiser by Ian Farrier.
These beauties were fabricated from a particularly difficult to find 6082 Aluminum. ( for reasons unknown to me, this alloy is readily available in europe, england and other locales but is next to impossible to find state side.)
6082 Aluminium (Al Si1 Mg Mn)
Aluminium alloy 6082 is a medium strength alloy with excellent corrosion resistance. It has the highest strength of the 6000 series alloys. Alloy 6082 is known as a structural alloy. In plate form, Aluminium alloy 6082 is the alloy most commonly used for machining. As a relatively new alloy, the higher strength of Aluminium alloy 6082 has seen it replace 6061 in many applications. The addition of a large amount of manganese controls the grain structure which in turn results in a stronger alloy.
Fairing before the storm
At present, there is a low pressure about to slam into the Pacific NW so I am taking advantage of the decent weather and applying the first of three fairing coats. Although System Three offers a product called Quick fair, the cost factor is orders of magnitude different that mixing up medium sized batches of resin and microbaloons. System three boasts that Quickfair is superior because of it being formulated under vacuum therefore eliminating air in the mix. At $150 bucks a gallon, to me, I have decided that it isn't worth the little extra effort of mixing up my own fairing compound.
10.18.2010
Targa Bar
So....Targa is an old word for targe, "shield". I suppose it may be possible for this Targa Bar to one day act as a shield but I think I would have other more significant problems if that were ever to be the case. Regardless, the upper portion of this structure follows the basic curve of the cabin top ( unless you opt to mount your mainsail traveler on it, in which case, the Targa bar is configured differently ) Personally, I don't like the idea of mounting the main sheet of my boat to an ungainly portion of the boat......I want it mounted to something solid as heck....mainly the center of the aft box beam structure. The cross section of the upper portion of this Targa Bar structure is called out in the plans thusly.
Since I'm not entirely sure how I'm going to build this Targa Bar, I'm starting things out simply by fastening the foam onto a curved form and gluing the central center rib in place. Tomorrow, I plan on making things up as I go to work out a way to create this streamlined curved form. I have some ideas in mind but that's the fun in building sometimes.....not knowing exactly how to do something but having just enough of an idea to make you think it can actually be done. So far, I've been lucky and sometimes I've actually woken up in the middle of the night having figured something out........then of course when I wake up the next morning, I completely forgot it.
10.15.2010
4 burner
With the hint of winter sneaking up on the Pacific NW, I decided to get a few of the main galley assets to work with in laying out the interior. I chose a nice Marine SMEV 4 burner with folding glass top. It's very light weight and should serve us well. I opted for the smaller broiler version thinking that we'll do our share of broiled fish. I may even work out a way of baking bread in it too.
10.08.2010
Harken the Harold angels sing.....
Nothing like the click of a brand new Harken #50 in the morning. You should have seen the bubble wrap flying around the house. Hard to believe that $20K can fit on a 4 ft. dia. coffee table.....nothing but the best.
Subscribe to:
Posts (Atom)