5.09.2013

engine bulkheads

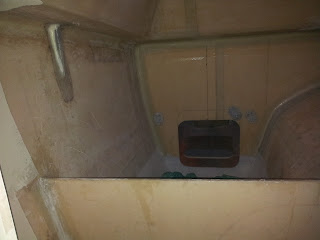
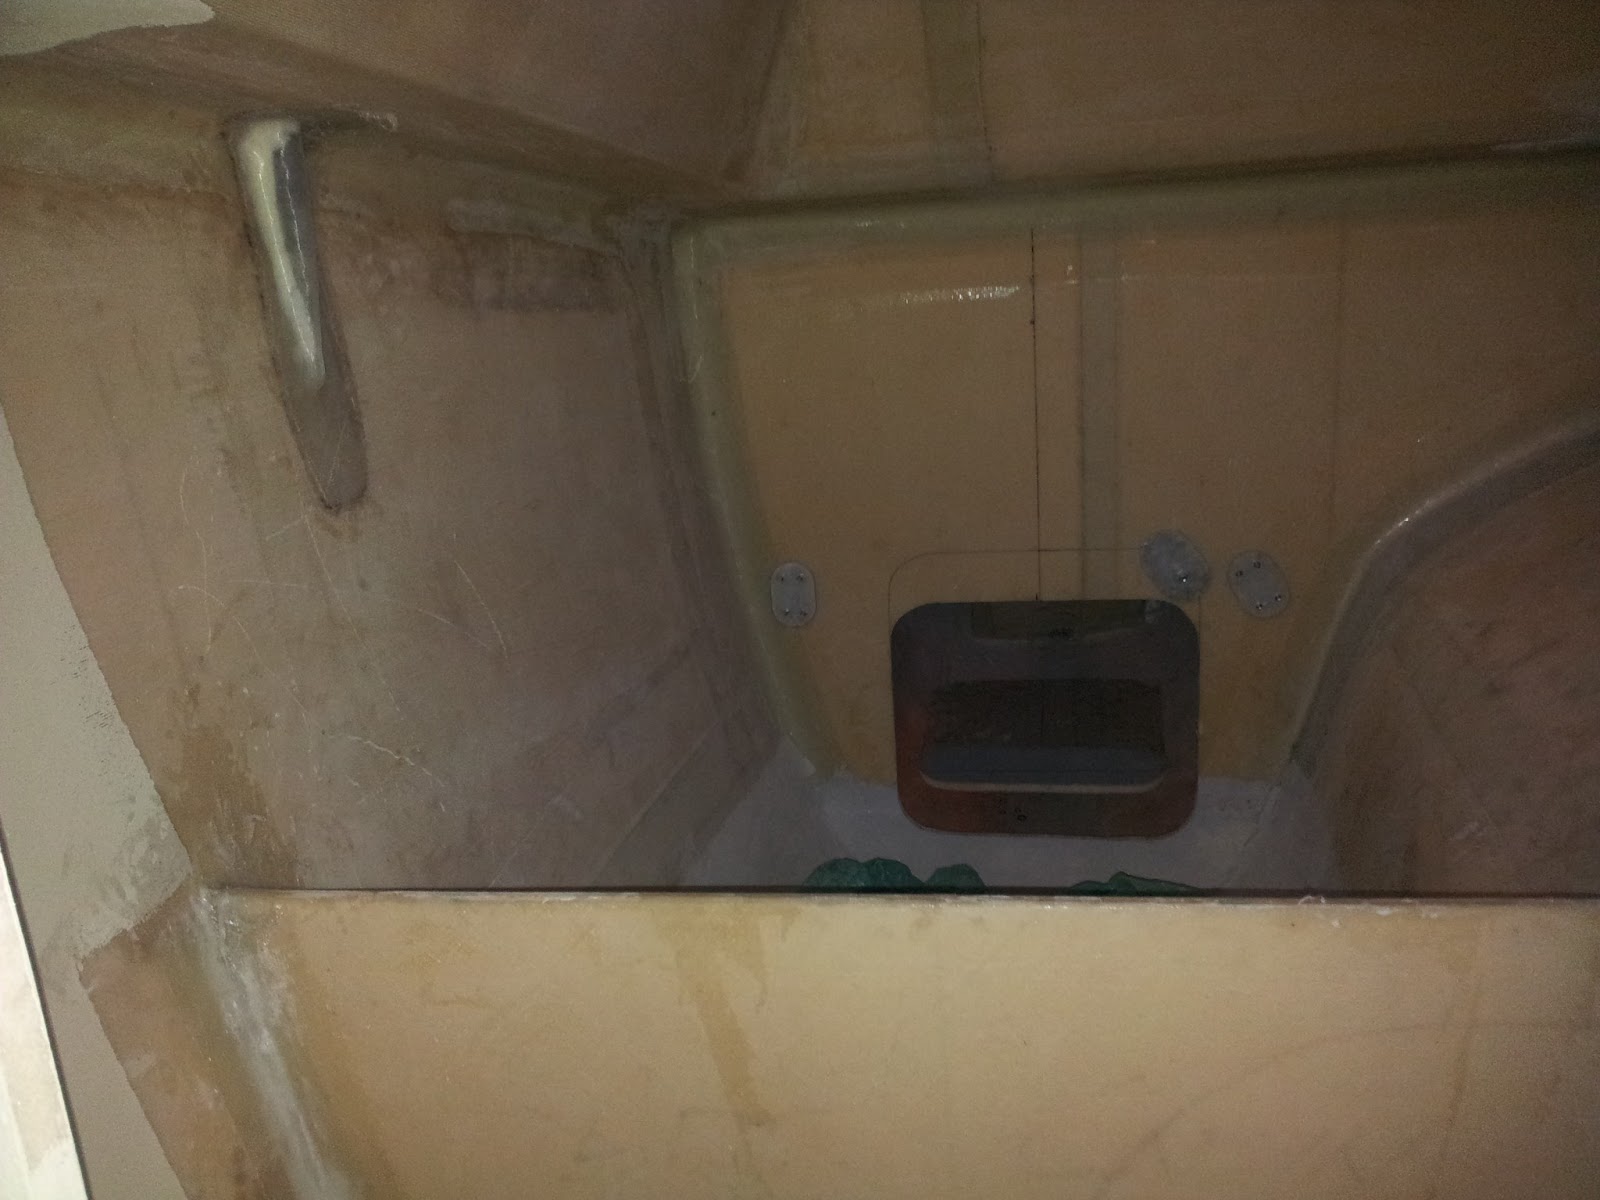
Peeking out behind that bulkhead under the green tarp is a brand new Yanmar 3YM-20 diesel engine with saildrive and folding propellers.  In this installation, the beds for the two aft cabins are built over the engines.  I've applied the first coats of white epoxy paint in what will become the engine compartments so any oil or fluid leaks will be easy to spot.

For quick oil level checks, access to the engine will be from a front bulkhead mounted hatch. Also, a top lift out hatch will allow entry to the engine compartment by qualified personnel.

starboard side engine bulkhead

Bulkhead bonded into edge of escape hatch
starboard side aft cabin berth location

4.23.2013

The finished cabin door

I installed a carbon fiber door handle and then bonded the window to the door frame.  As a subliminal message to would be thieves, I machined an aluminum "Bullet" end cap for the door handle.


Installing the mainsail traveller

 The mainsail traveller is held in place with thirty six 5/16 stainless steel flat head screws.  I used aluminum backing plates to spread the load along the stern cross beam.


36 stainless steel screws

 here is the traveller end with backing plate

middle backing plates. 
( note the PEX water lines ; middle and one of the port side steering pulleys; lower )


4.22.2013

Awgripping the salon door


OK, I'm not really planning on having a hair salon on the boat so let's just call this the "cabin" door.

The outside temperature in the Pacific Northwest was a nice 75 degrees F with a slight ghost of a breeze so I just placed the door up on a few stands in the drive and sprayed it with three coats of Awlcraft 2000. A couple of unlucky gnats met their demise but aside from that, it turned out real nice.

Tomorrow, it's time to install the window and carbon fiber tube handle then mount it to the boat permanently.   

4.19.2013

Installing the jewelry


 Here's the port side bow cleat install job site.  Notice the ample 5/16 inch aluminum backing plates.  These are critical bits of hardware and I don't ever want them to rip out of the deck.
  Here's a trick for keeping the water out....... chamfer the mounting holes and wrap the base of each fastener with Butyl bedding tape so that it forms an "o-ring" seal.

 here's the base of the cleat right before install

here is me

here is the port side bow cleat backing plate seen from the inside.


 mainsail winch backing plate is a full 3/8 inch thick.

 50's

 rope clutches

 40's


4.15.2013

bedding in the cleats

"bedding in the cleats............we shall come rejoicing .......  bedding in the cleats"

I'm using butyl tape to seal the cleats to the deck.  Also, a couple of wraps of this butyl tape around the heads of the fasteners will prevent any water from sneaking it's way down the mounting holes.


Bones

I created a nice roller system for the sliding door by using two street skateboard wheels and a couple of aluminum rails.  I used delrin blocks to act as sliders while the weight of the door is supported by the wheels.  This system works great and given the abuse these wheels are designed to handle, it should be plenty durable.


4.09.2013

more prep work on the salon door

Sometimes yacht building is not the most exciting venture.  On occasion, some jobs just seem like jobs.  In this instance, the task at hand is to complete the salon door and this involves yet more of the same.......That is,  applying filler, sanding, applying a little more filler and then sanding followed by applying a little more filler then sanding.


Here's the tool I made to hogg out edge foam

Here's the same area after filling with micro and epoxy

here's the door after application of 545 primer

4.05.2013

Salon Door

I vacuum bagged the salon door and will now spend a few days sanding and painting with the remainder of the Awlcraft 2000.......I thought I was finished with all the painting.

for strength and weight reasons, I elected to forgo a full length window along this door but rather chose to create a strong sliding doorway with a vertical carbon fiber stiffener as the handle.  I used unidirectional glass on either side of the edges of the door to add additional strength in case I ever get a rogue wave over the stern.


4.03.2013

Inverted flight

In regards to catamaran watertanks,  I thought it wise to incorporate a "flop" pickup tube inside the two water tanks so that in the unlikely event of an inversion incident, any remaining fresh water in the tanks could be accessed via exposed plumbing....... otherwise, that water may as well be on the moon.


Here is a photo of the under side of one of  the tops of the built in water tanks with a flexible pick up line and a weighted end.


the unlikely event: 


4.02.2013

bamboo backing plates

I decided to use Bamboo cutting boards for backing plates for the deck cleats.  The theory is that their material properties are similar in character to the deck materials thereby creating a more uniform structure in witch to absorb the loads that will be seen by the cleats.    Adding to that; they are stronger than plywood, rot proof and lightweight so this makes me  believe that they are an appropriate material for this.


And here's a photo of a bamboo backing plate being bonded into the inner portion of the hull and deck.....


I used a thick mixture of epoxy and cabosil to bed the plate under the cleat mounting location then used strips of peel ply to keep the glue in place. Tomorrow when the epoxy is cured, I will drill the mounting holes and use stainless fasteners and washers to bring the cleats home.


4.01.2013

Boys room bunks

I used my Sailwrite "brother" to sew the bunks for the boys room using Phifertex fabric. ( click to see sample here )  This stuff is a reinforced screen fabric that allows sand and water to flow right through so the bunks should stay fairly clean.


Here's a shot of the bunks looking out towards the stairs into the boys room.

I used carbon fiber windsurf mast sections as side supports for these births.  They are super strong and lightweight.

3.28.2013

more window install shots

here are a few random photos of the final window install.....


starboard cabin window

applying the sika flex activator

forward cabin windows ready for placement

sample of fastener with o rings

front windows

3.22.2013

Guide to bonding marine windows using Sikaflex

Some people argue against using the expensive stuff like Sikaflex and Awlgrip but whenever possible, I've always thought it wise to stick with industry standard products when building a blue water boat.  Since this boat is being built to provide safety and comfort for my family, I buy the best materials available.


here's the link:

https://www.google.com/url?sa=t&rct=j&q=&esrc=s&source=web&cd=5&ved=0CHsQFjAE&url=http%3A%2F%2Fwww.cruisersforum.com%2Fforums%2Fattachment.php%3Fattachmentid%3D29490%26d%3D1310301275&ei=-qJMUaifHavLigLxo4AQ&usg=AFQjCNF7f9UzDqg-NiTdSMBbYtqemJBMzA&sig2=5ou37BHrEdyurIkXpAqKDw


* NOTE

The one thing that seems sketchy about the install directions is the need for an external coating of protective paint around the window edges.  You would think that Sikaflex UV would not require this but I  have been advised by a renowned west coast yacht builder NOT to skip this step.  They did an install without doing this and the boat came back for a complete window rework at the yards expense.

Here's a handy illustration of the best practice install:


3.21.2013

Prepping for the window install

All of the windows were CNC cut from hard coated Acrylic.  The forward windows are 3/8 inch thick for added strength.

Here are the steps that I will follow to install the windows:

1  drill holes in edges of windows
2   drill matching holes in boat
3  mark outer UV paint marks around edges with tape
4  remove windows
5  paint outer edges with black"fusion" plastic paint
6   clean openings with Sika cleaner
7  clean back side of window edges with cleaner
8  prime back side of window edges with Sika primer - 209D
9  apply bead of Sika Flex around opening
10  insert spacers and "o" rings around fasteners
11  fix windows in place
12  tighten fasteners  ( all 300 of them )
13 back fill any voids around edges
14  clean residue with mineral spirits
15  stand back and admire the fitted windows

2.27.2013

MT-3 twin engine controls

My engine controls arrived today.  They are very shiny.


2.16.2013

Fitting windows


After cutting the windows on a CNC router table, the next step was to fit them to the existing openings.    This required drilling evenly spaced holes along all edges.  I found that by bolting my drill press to the side of my work bench and adding a bearing as a guide, I could drill the holes a precise distance from the edge.

Also, a handy tool for determining spacing, is an accordion style guide tool.  This tool allows even spacing to be made between two end points. 


guide for determining even spacing


drilling edge holes


temporarily mounted windows

port side cabin window