10.27.2013

Half empty....half full : fuel tank sending unit and guages

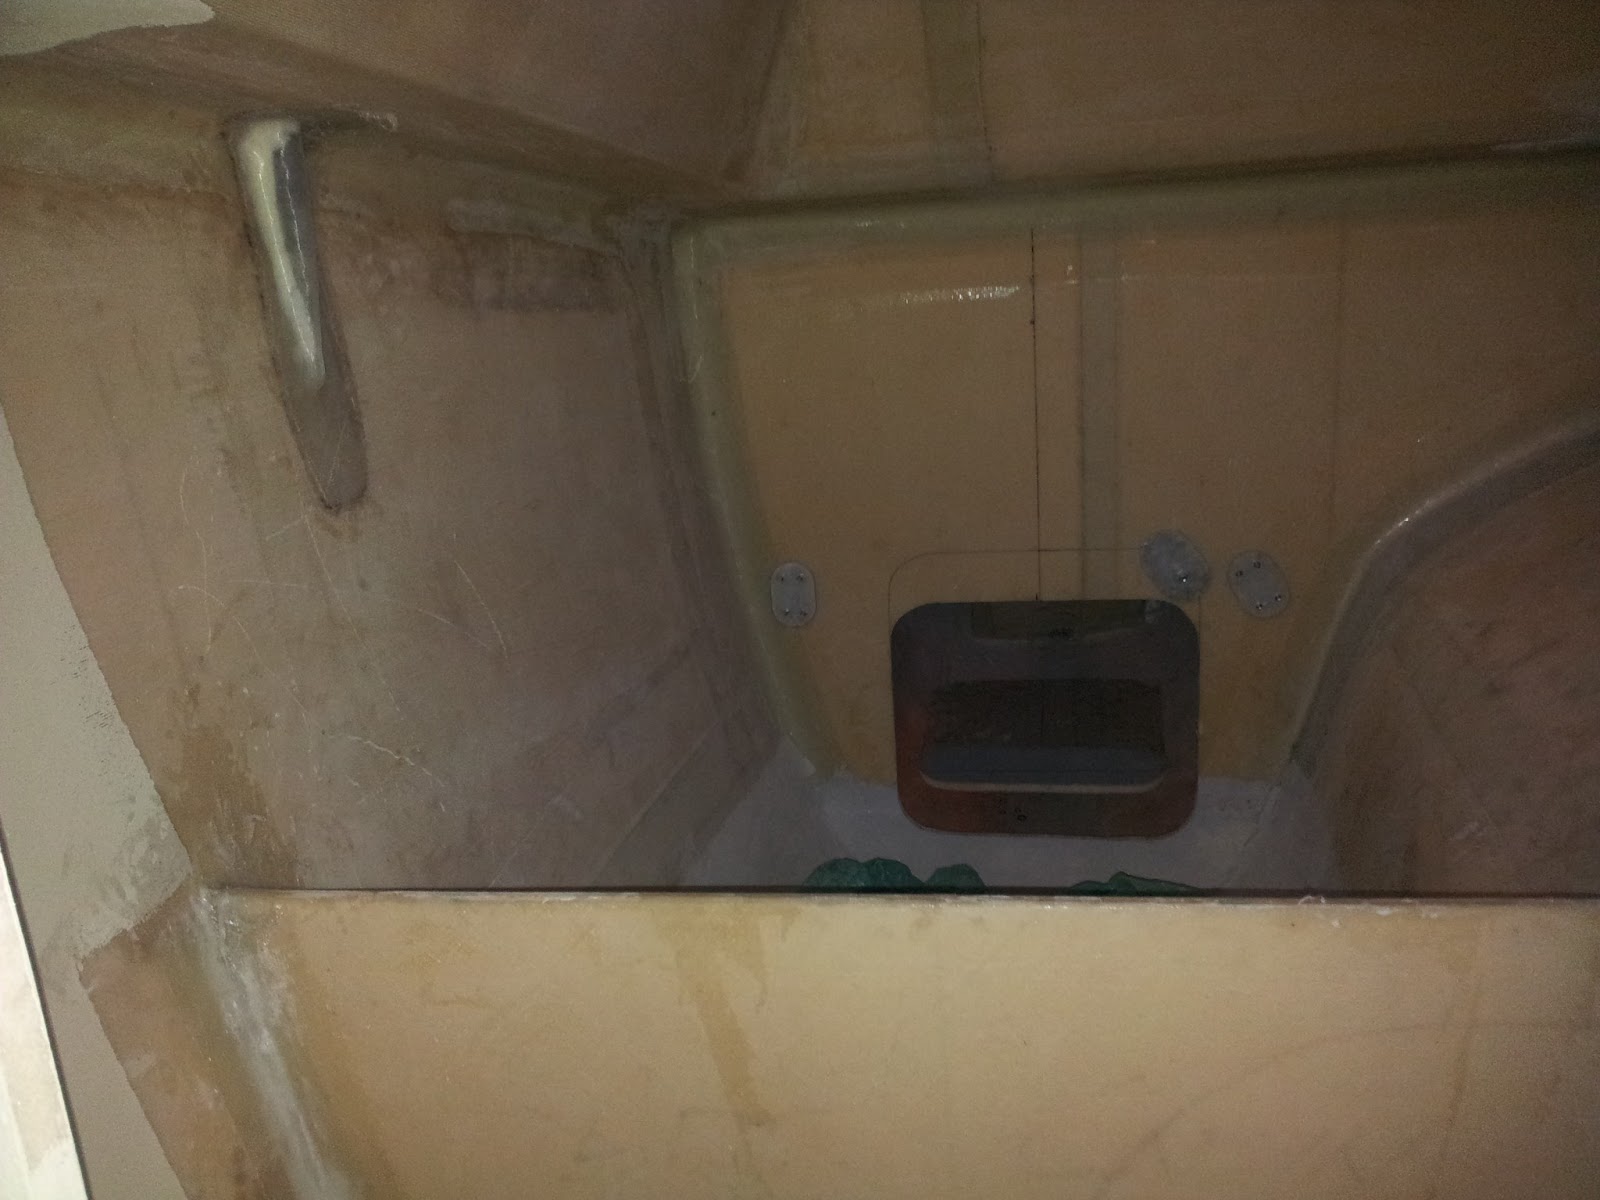
Another necessary fuel system detail involves the installation of fuel level sensors in the tanks. I chose a sending unit made by "Sea Choice" because it was reasonably priced and rugged in design.


This  involved using a hole saw to cut an inch and a half hole in the top of the tank , drilling and tapping five fastener holes then screwing the unit in place.


One obvious disadvantage of triangular cross sectional tanks is that a standard linear sending unit will show misleading readings so when the gage reads 1 half, it will really mean 1/4.  Unfortunately, empty will still mean empty.


Here is the final location of the fuel gauges


10.24.2013

Deck Fills

I've chosen to use composite deck filler caps for both my port and starboard water tank fills. The standard color for H2O is blue.  They weigh about 4 times less than stainless steel deck fills.


Here's a look at my starboard deck fill installation site. I'm using thick vinyl tubing along with 1 1/4 inch PVC pipe as fill line that goes down to the built in tanks in the hull.


10.22.2013

Neck Fills


Never underestimate the need for neck fills.  In my case, I need four of them....two water tank neck fills and two diesel tank neck fills.


I  used a table saw with a carbide tip blade to cut  off short sections of aluminum pipe.  


I then cut grooves in them to help provide a secure fit to the connection hoses.  Two of these pipes will be welded to an aluminum flange and these will become neck fills for my water tanks.  The other two will be TIG welded onto the diesel tanks.

10.20.2013

LED lighting


Here's a look at the starboard side hull looking forward.  The light that is shown is the result of four 2Watt LED Marine Dome lights.  This is an amazing amount of light. With all ten house lights on, the combined total lighting for the boat only burns 20 watts. 

here's a link to the LED lights that I purchased: I am pleased with them and with free shipping, they are the most reasonably priced lights that I have found. LED Dome lights


This is the work space located in the starboard hull. I plan on using this space as a little shop area for working on things.


10.18.2013

Lavatory / work surface material


I was fortunate to find a .06 thick laminate made from recycled plastic at Home Depot to use as a counter top / work-surface material.   This stuff is made for use in shower stalls,  I applied it using a liquid nails product and then used a lightweight vinyl quarter round as an edge treatment. In the above photo, I've yet to install the back splash and trim.

 I find it fun and challenging to source materials in alternate locations other than marine chandleries. I consider material weight in every decision.  In the long run, when it comes to maintenance I think it will be nice to not depend upon having to have specialty materials and hardware to effect possible repairs.


10.14.2013

fuel tanks arrive


The two wedge shaped fuel tanks arrived from the fabrication shop after being TIG welded from five thousand series alloy aluminum sheet.  These tanks have internal baffles and were pressure tested to insure that there will be no leaks.


The fuel tanks will be held into position with wedge shaped  hunks of wood that will be bonded to the inside of the boat hulls.  These wedges will support the lower edges of the tanks and to prevent any risk of galvanic corrosion from affecting the tank, dyneema line will be used to lash the tanks into place under the counter tops that run down the partial length of the hulls. ( where the lavatory sinks and work spaces are positioned. )


8.14.2013

goose feathers and the new flooring.


Here's a view of the "galley up" cabin.  Note the new flooring.  Although it has the warm glow of wood, it'a actually a very lightweight yet durable vinyl flooring.  Also, you can see my new 300 lumen LED lights.  These lights are set op on a dimmer and can be turned off individually at the light fixtures as well as the 12 V breaker panel.

can you find the white goose feather? 

7.06.2013

bow pole pin

The carbon fiber bow pole is anchored into it's extended position with a 1 inch stainless pin.  To beef up this area, I created a "spool" section from some chloroplast ( plastic cardboard ) then wrapped glass and epoxy around the tip of the bow tube to build up a 1/2 inch thickness.

The bow tube will soon sport a few delrin spacers to allow the bow pole to slide in and out with ease. This should also improve the fit and make the juncture more secure.
internal tube that becomes the receiver for the 1 inch stainless anchor pin

internal tube bonded in place

pouring in epoxy microbaloon mix to reinforce pin tube area
( I created a "dam" with closed cell foam then poured the mix in from the top to 
provide support for the tube from the inside) 

checking the fit of the pin


I intend to use synthetic lines ( dyneema ) for the end of the bow tube so I've also fitted a larger diameter carbon stub tube to keep large brummel spliced ends in place.  Two lines go donwards towards the lower bows then one goes up the the leading edge of the mast where the screacher will fly.


This is the general idea.........

7.05.2013

90% with 90% to go.

A walk through:

here

6.23.2013

details.....details.......

Turns out that the nuts that I used to fasten the escape hatches pertruded to the point where I felt them to be snagging hazards.  In other words, if I ever have to dive out of one of these openings, I didn't want to get snagged on the bolts. My solution was to create smooth wooden guards that will be screwed in place over the fasteners.  On the back side of each piece I've drilled counter sink holes to cover the fasteners.


As you can see, I have yet to paint the master state room.  I'll wait until I have the walls painted then I'll varnish the wooden pieces and screw them in place just to add a nice detailed look.

6.22.2013

Super lightweight carbon fiber salon table


I created a carbon table top by vacuum bagging 12 oz. carbon fiber over inch and an eighth structural foam, then sanding and finishing the top with automotive clear coat. It's really glossy.  To prevent beverages from sliding off the table while under way, I will hold them in my hand.


Here's a photo of my rounded edge carbon fiber table top.  This table is very lightweight and strong.  I could balance it on one finger.  I used a surplus carbon fiber tube of ample diameter as a base and I can sit on the edge of it with no sign of deflection.

Carbon Stanchions.....I guess there will be no sanctioned racing for this boat.


I used my metal lathe to create machined aluminum stanchion ends and drilled holes through them so that they would serve to hold the upper lines. In this instance, I am using 1/4 inch pre stretched dyneema line rather than stainless steel. ( lighter and stronger with minimal stretch )


for the lower life lines, I used heavy duty shrink tubing to anchor small harken lashing eyes to the stanchion tubes.  This worked really well and produced a neat look.


freezing in the fridge


With the freezer section set to 19 deg, the fridge side settled in at 20 deg......much too cold for a fridge.  I discovered that the temporary barrier that I had use as a "spillover" barrier did not seat firml against the edges of the fridge so cold air was making it's way right into the fridge side rendering it essentially part of the freezer.  Next step will be to create an insulated barrier with a thermostatically controlled spillover fan.  This should allow me to control both the freezer temp and the fridge temp.


5.29.2013

lost soul found.

5.22.2013

Notice to mariners. Missing Tri


Quote:
Keys boater missing since May 13
E-Mail this story
Print this story

Posted - Wednesday, May 22, 2013 05:30 AM EDT

Jay Rydberg was last known to be in Fort Myers.
An Alaskan man living in Key West the past year has gone missing -- along with the 39-foot trimaran he was traveling on, the Monroe County Sheriff's Office said Tuesday.

Jay Wesley Rydberg, 40, reportedly was living on the sailboat in the Garrison Bight Marina. He'd moved to Florida from Alaska to be near his 11-year-old son, who lives in Lehigh Acres in Southwest Florida.

His sister, Jill Lesseig of Fairbanks, said he sailed from Key West to Fort Myers and was on the return trip last week aboard his boat, the 3/4 Time. She said he called her the morning of May 13 and was calm and relaxed. He told her he should be arriving in May 14 or 15, Sheriff's Office spokeswoman Becky Herrin said.

At 4:13 a.m. May 14, the U.S. Coast Guard detected his Emergency Position Indicating RadioBeacon, known as an EPIRB, and initiated a search that lasted 78 hours. The EPIRB was found 33 miles north of Key West but they found no signs of Rydberg or his vessel.

At the time the beacon went off, weather was blowing 20 knots and there were 3-foot seas. There were no reported storms in the area, according to the Coast Guard.

Herrin said Lesseig said Rydberg worked at manual labor but not sure for whom. She said he was known to ride a bright red bicycle.

Rydberg is white, 5-foot-11, 170 to 175 pounds with brown hair and brown eyes. He often grew a beard and has scars on his stomach and is missing his right eye. He reportedly often wore an eye patch.

 Anyone who knows anything about his whereabouts should contact the Sheriff's Office.


5.09.2013

engine bulkheads

Peeking out behind that bulkhead under the green tarp is a brand new Yanmar 3YM-20 diesel engine with saildrive and folding propellers.  In this installation, the beds for the two aft cabins are built over the engines.  I've applied the first coats of white epoxy paint in what will become the engine compartments so any oil or fluid leaks will be easy to spot.

For quick oil level checks, access to the engine will be from a front bulkhead mounted hatch. Also, a top lift out hatch will allow entry to the engine compartment by qualified personnel.

starboard side engine bulkhead

Bulkhead bonded into edge of escape hatch

starboard side aft cabin berth location

4.23.2013

The finished cabin door

I installed a carbon fiber door handle and then bonded the window to the door frame.  As a subliminal message to would be thieves, I machined an aluminum "Bullet" end cap for the door handle.


Installing the mainsail traveller

 The mainsail traveller is held in place with thirty six 5/16 stainless steel flat head screws.  I used aluminum backing plates to spread the load along the stern cross beam.


36 stainless steel screws

 here is the traveller end with backing plate

middle backing plates. 
( note the PEX water lines ; middle and one of the port side steering pulleys; lower )


4.22.2013

Awgripping the salon door


OK, I'm not really planning on having a hair salon on the boat so let's just call this the "cabin" door.

The outside temperature in the Pacific Northwest was a nice 75 degrees F with a slight ghost of a breeze so I just placed the door up on a few stands in the drive and sprayed it with three coats of Awlcraft 2000. A couple of unlucky gnats met their demise but aside from that, it turned out real nice.

Tomorrow, it's time to install the window and carbon fiber tube handle then mount it to the boat permanently.   

4.19.2013

Installing the jewelry


 Here's the port side bow cleat install job site.  Notice the ample 5/16 inch aluminum backing plates.  These are critical bits of hardware and I don't ever want them to rip out of the deck.
  Here's a trick for keeping the water out....... chamfer the mounting holes and wrap the base of each fastener with Butyl bedding tape so that it forms an "o-ring" seal.

 here's the base of the cleat right before install

here is me

here is the port side bow cleat backing plate seen from the inside.


 mainsail winch backing plate is a full 3/8 inch thick.

 50's

 rope clutches

 40's